Table of Contents
ArmA 2 Modeling A Tree
ArmA 2 Forum, ArmA 2 Home, ArmA 2 Config, ArmA 2 File Formats, ArmA 2 Missions, ArmA 2 3D Modeling, ArmA 2 Scripting, ArmA 2 Terrain, ArmA 2 Texturing, ArmA 2 Tools
Tutorial: Modeling A Tree by mikebart
Hey guys I've just finished writing part 1 of a 2 part tutorial about making foliage and trees, not sure why my thumbnails don't work on this forum, ill eventually convert this to a pdf but for now ill just post it up here.
This is really just another way to make textures, not the only way, so if you're quite confident you can photo source or paint your textures then you should have no problem going strait onto part 2.
Things you need to have:
- 3DSMax
- Photoshop or Gimp
Things you need to know:
The difference between this tutorial and the more common ones out there regarding high to low poly projection baking is that it also covers rendering out more than just a normal map, you can also render diffuse, specular, ambient occlusion, lighting, shadows and masks, which are useful for component separation e.g 'bricks and mortar' or in this case 'branches and leaves'.
Creating A Normal Map Right In Your 3D App by Ben Cloward
This is a very useful technique, by setting up colored lights in a scene you can render normal maps strait out of your view port, it also enables the rendering of alpha planes, so that you can render the high lod model foliage down to the lower lod model foliage.
Contents: Part 1: Modeling the high poly leaves and branches.
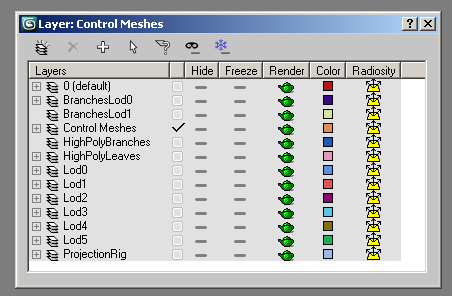
1.1 Setup your layers
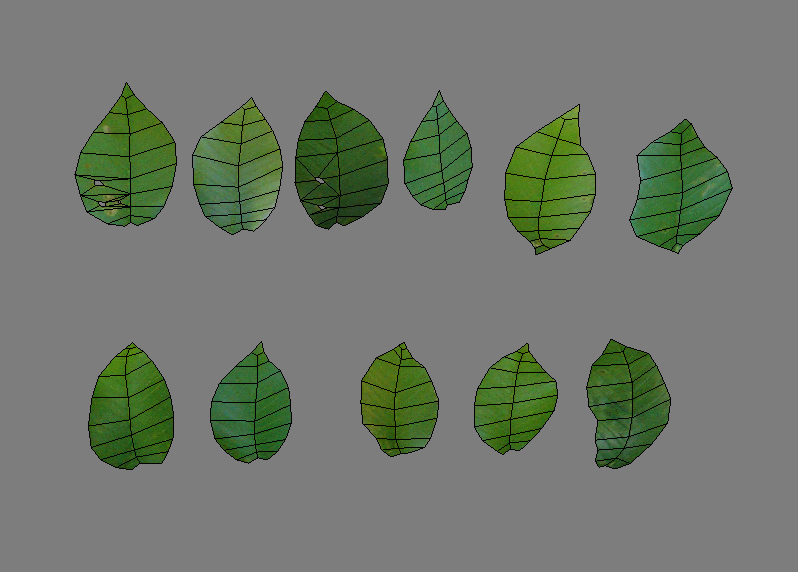
1.2 Model the leaves
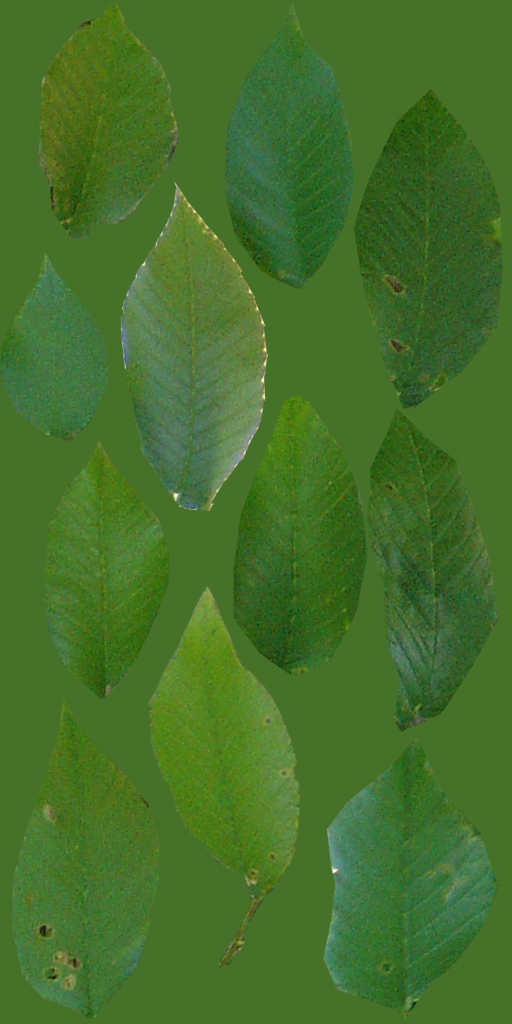
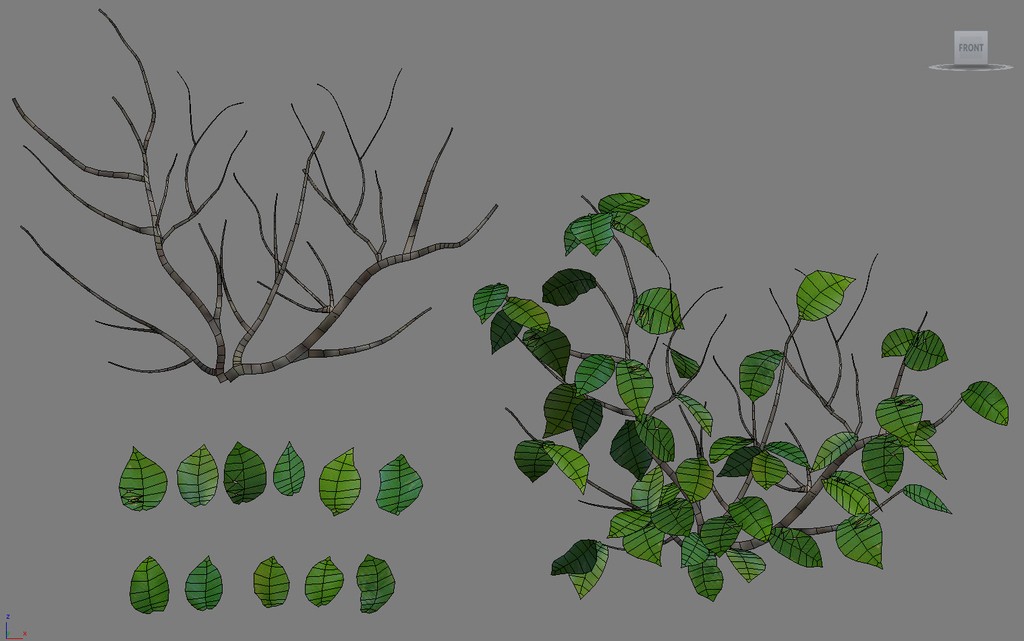
I've basically cut out some leaves from photos, made a quick normal and specular map for them and UV mapped them onto the same model, then made alterations to each model to give them some variation. Name the leaves, 'leaf_high' and add them to the 'Control Meshes' layer, then make instances of them and add them to the 'HighPolyLeaves' layer. You can use the control meshes to swap out leaves and twigs to change the type of tree.
You can either use these textures below, or make your own:
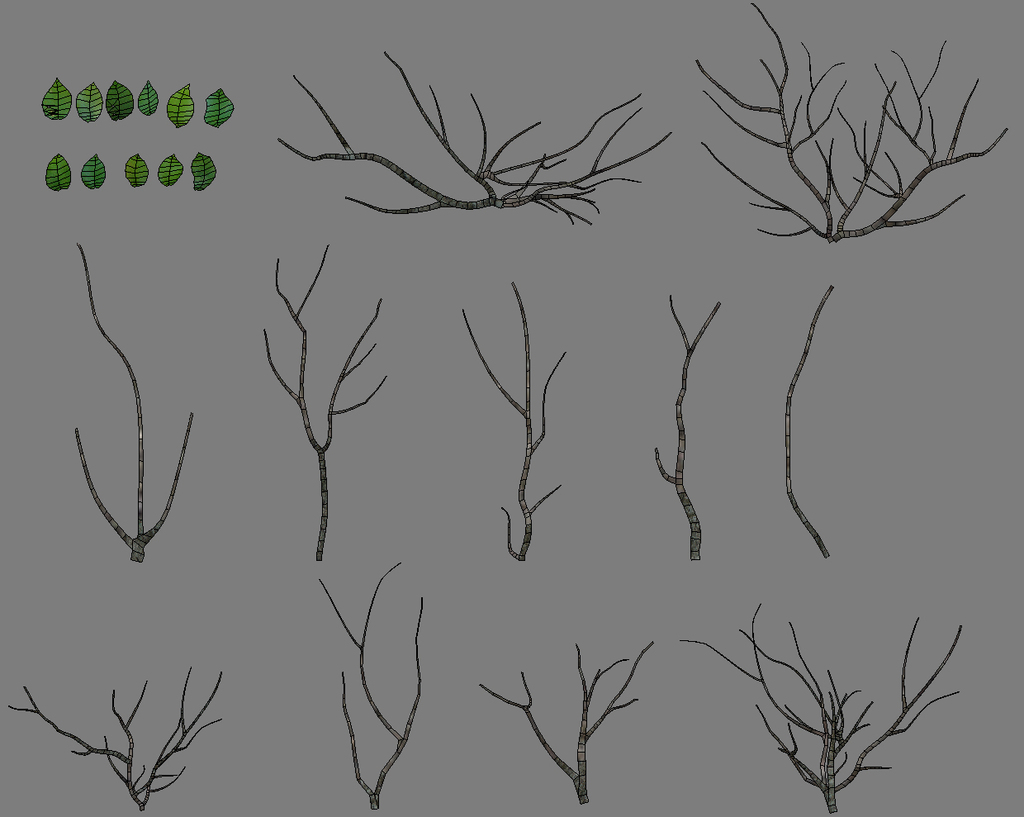
1.3 Model the twigs
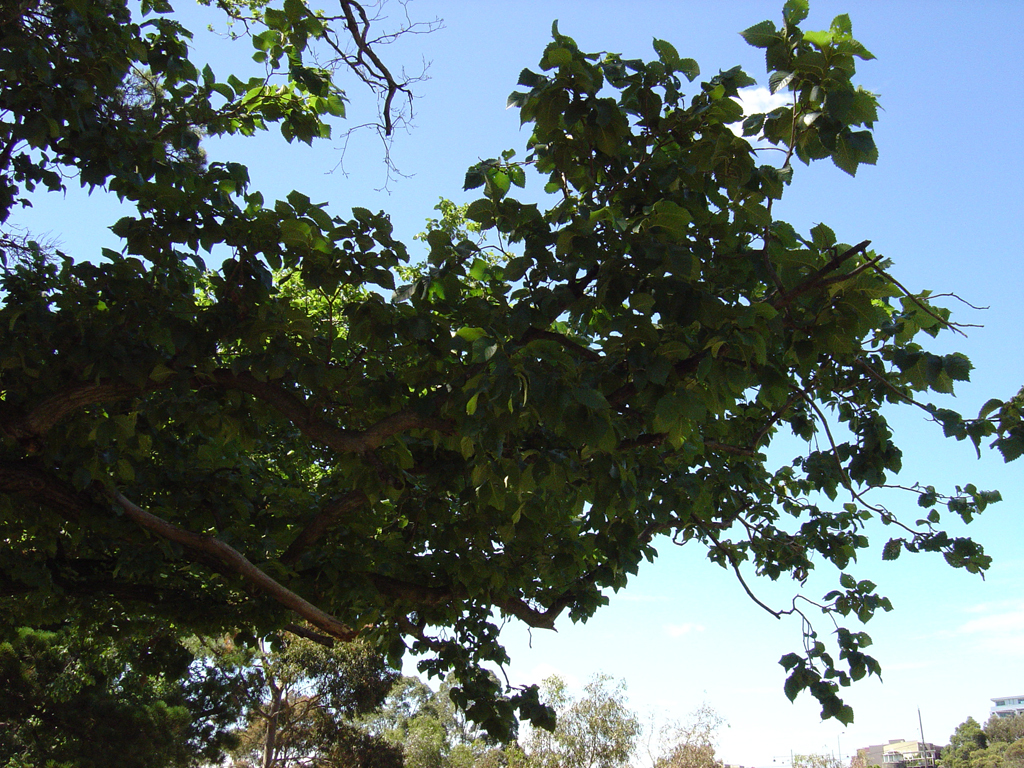
Model a variety of twigs that can be used in different ways to help make the foliage look interesting and sporadic. Be sure to study photographs of branch structures and take note of how they grow and how they might break down into smaller parts. Name the twigs, 'twig_high' and add them to the 'Control Meshes' layer, then make instances of them and add them to the 'HighPolyBranches' Layer.
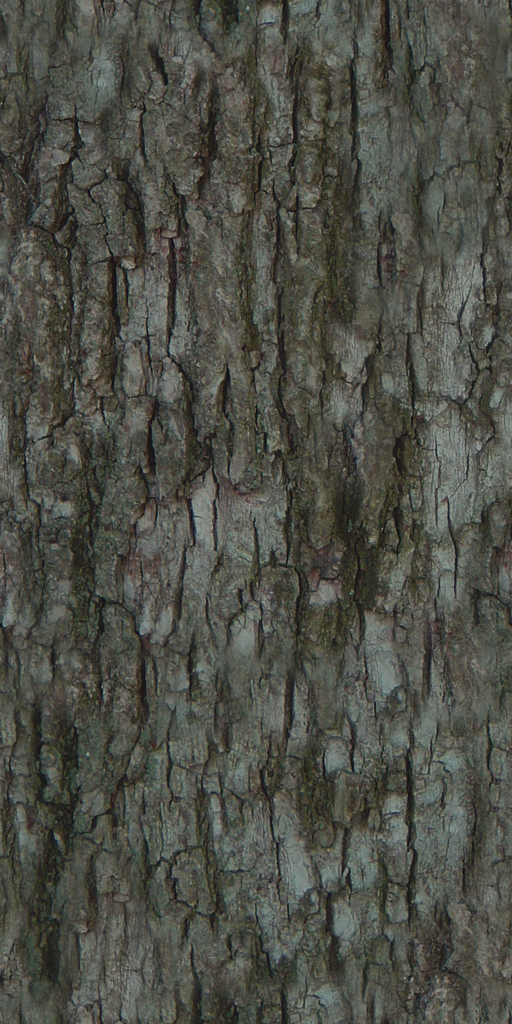
If you photograph a tree yourself, get underneath and take some good upward shots of branch formations. Texture the twigs Using the trunk textures below or create your own.
1.4 Add leaves to twigs
You don't need to be a tree expert to figure how foliage for a particular tree is structured visually, be observant, take simple mental notes like for example, “Elm leaves usually point downwards and out diagonally when in large clusters, but when the branches/twigs reach outwards horizontally they can point in other directions and be more sporadic.” Set the pivot point of all the leaves to where they join onto the twig. Remember to instance your leaves, then you can make alterations to them later on, for example if you wanted to change the type of tree, you could simply swap the leaves out with another and change the twig texture. Keep control meshes on a separate layer and instance off of them.
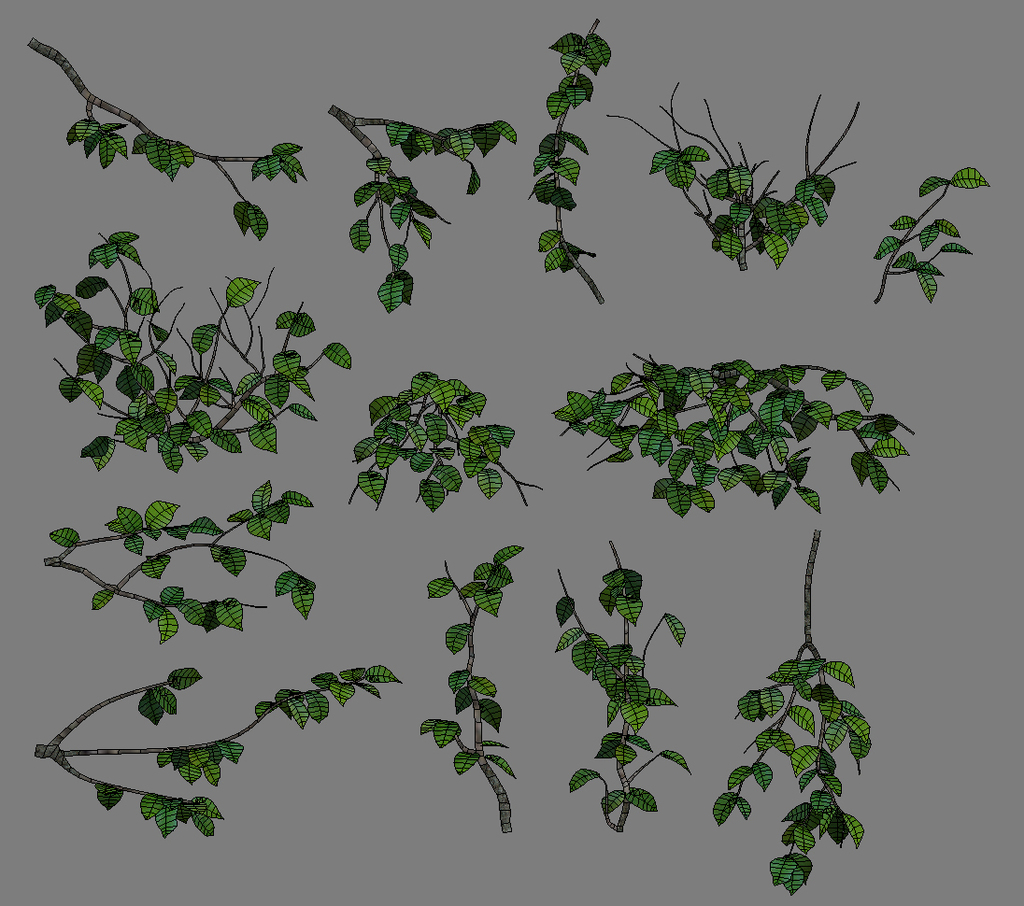
Now repeat this step on the other twigs. Notice how in the image below Ive made a variety of small clusters all going in different directions, some hang down, some reach out wards and upwards, and then there are a few clusters in there which are great for fill.
once you've finished group the pieces individually, so you should have about 13 groups.
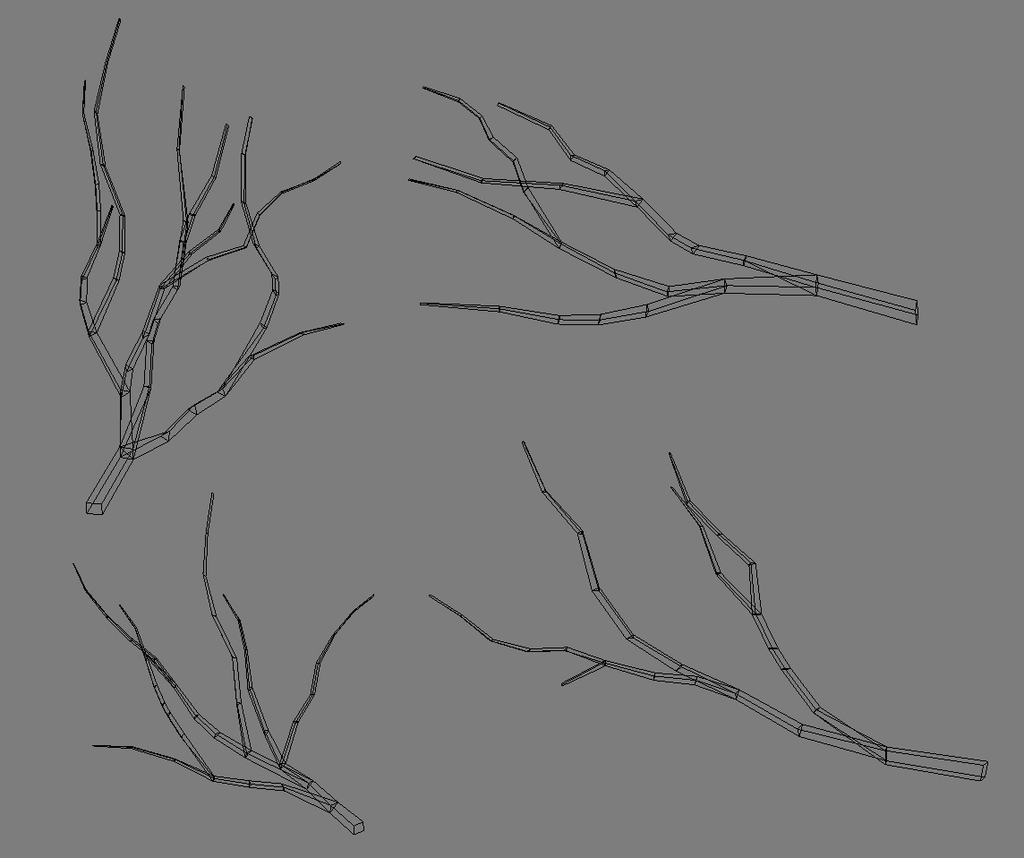
1.5 Model the small branches
These branches should be reasonably low poly, I'd recommend about 150 tris, these will be used in the high lod of the tree model. Name the small branches 'smallBranchLod0_' and add them to the 'BranchesLod0' layer
1.6 Arrange leaves and twigs onto small branches
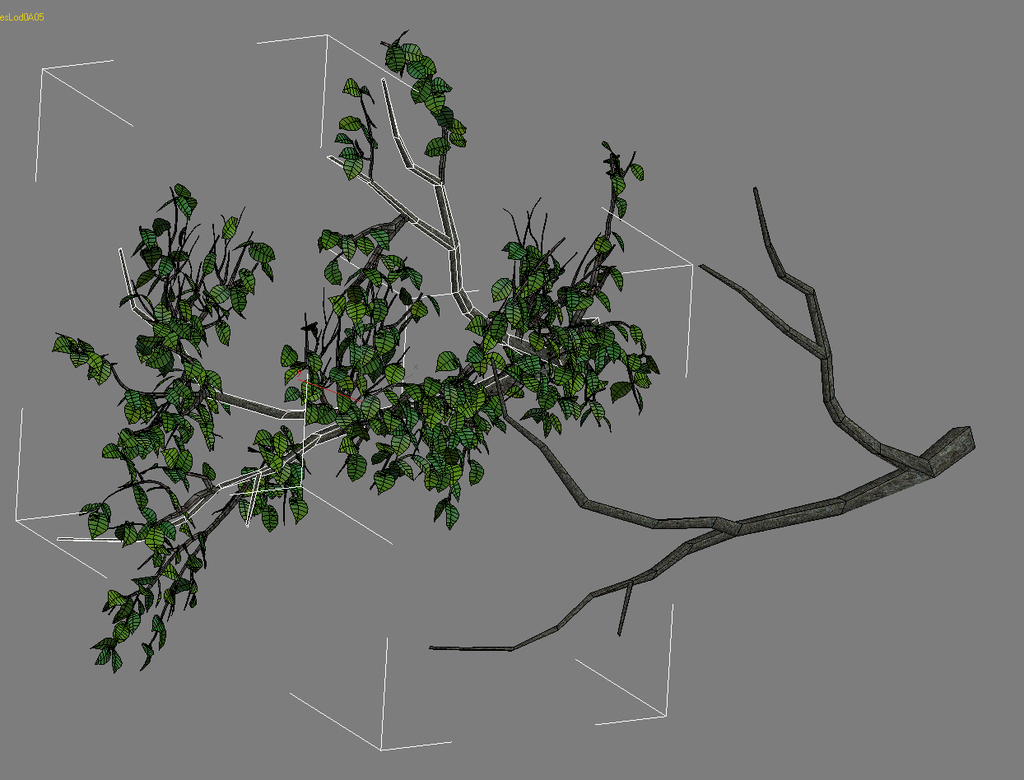
Below, Small branches ready for render.
Instance the twig and leaves groups and start arranging them onto the small branches.
In the image above you can see the pieces that will be rendered to texture for the high level of detail, make sure you have a good variation of branches for different situations much like in step 1.2.
You'll notice that the 4 foliage clusters on the right hand side have no small branch model, these are used for filler, while the 4 on the left with small branches are more structural and will always connect to a larger branch.
Group the branches and foliage clusters, so now you should have 8 groups.
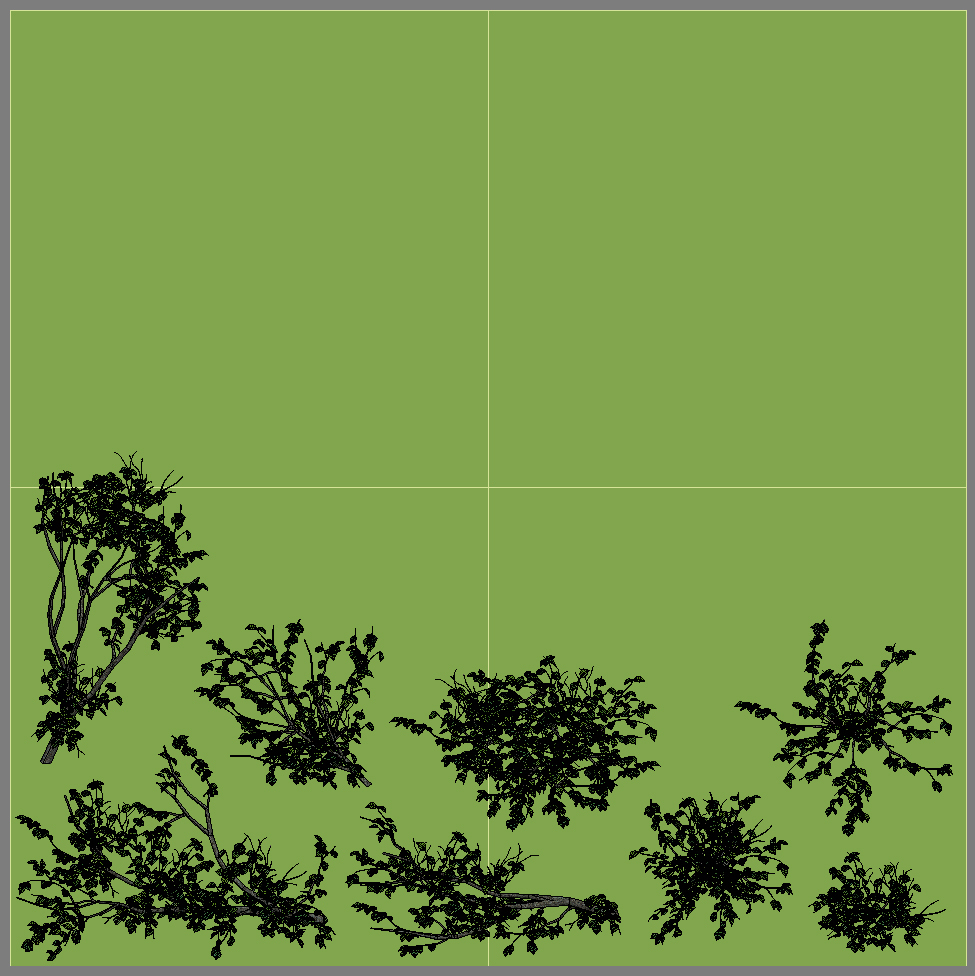
Go into front view, Draw a square plane, color it green (or your foliage color) and arrange the branches and foliage clusters inside of the plane. This plane represents your UV space, so be careful not to overlap geometry and be just as careful not to waste UV space by having the branches and foliage clusters too far apart.
Judging how much UV space to use right now can be a bit tricky and It would be pretty difficult to plan out accurately at this stage due to the fact that you cant really see where things are going to be positioned because you haven't made them yet. One advantage you do have though is that when you make the lower lod levels you're going to be able to scale them down to fit onto the map relative to the size that those planes will appear in game.
So, as you can see in the picture above I've used about just under half of the UV space, we'll be rendering out to 2048's so they'll still have plenty of pixel density.
Now you should have a fully instanced arrangement of foliage with control meshes, save this scene separately before you carry on any further, you might find this scene useful in the future for making other types of trees.
1.7 Set up some lights
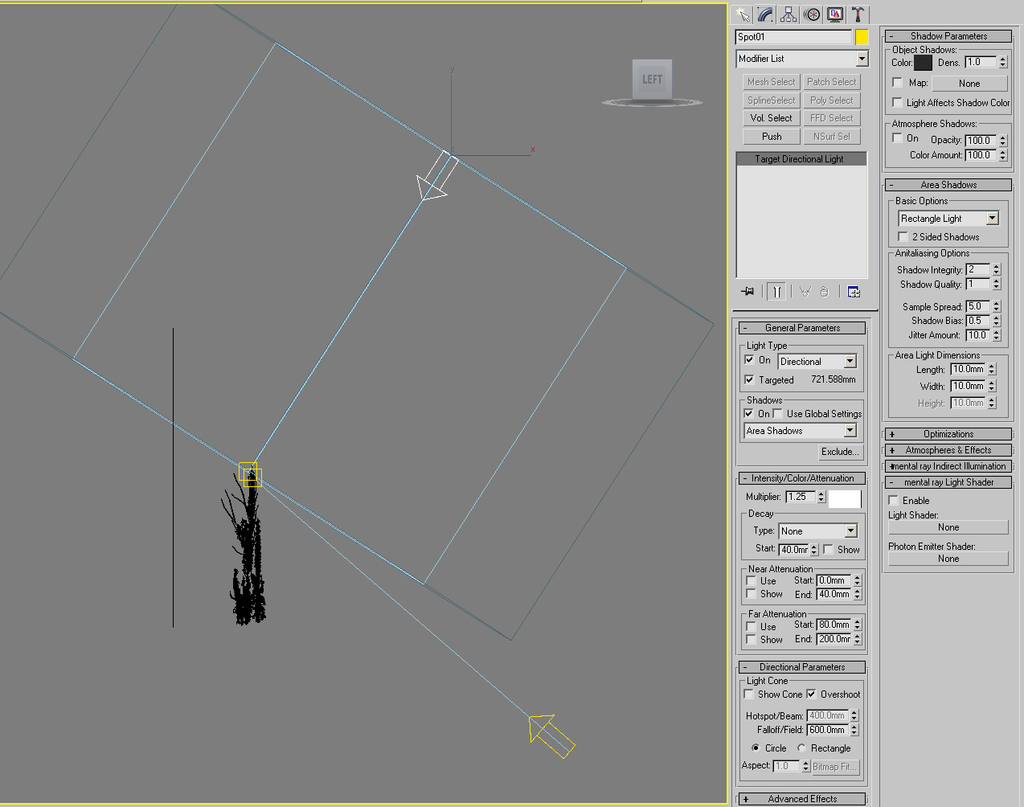
Place 2 directional lights pointing at around the center of the plane, like shown below, select the top one and turn on shadows. For the rest just follow the settings provided in the image below. Now select the bottom light, leave shadows off, set the multiplier to 0.2.
1.8 Collapse and attach geometry
(optional step)
Now that you've saved the instanced scene and are working on a different file, make all the geometry unique (non instanced), by un grouping and converting all geometry to editable poly and then attaching them accordingly. This is more of a scene management decision which is probably best left for you to make yourself, 3dsmax runs faster when you've got less objects in a scene, instanced or not. Also, if you have too many objects to add to the 'pick list' in the projection modifier it can become too large a process to handle resulting in 3dsmax running out of memory and crashing, and you cant pick groups from the projection modifier, only objects.
1.9 Render to texture using the Projection modifier
Tutorial: Render to texture with multiple texture maps using the projection modifier in 3dsmax
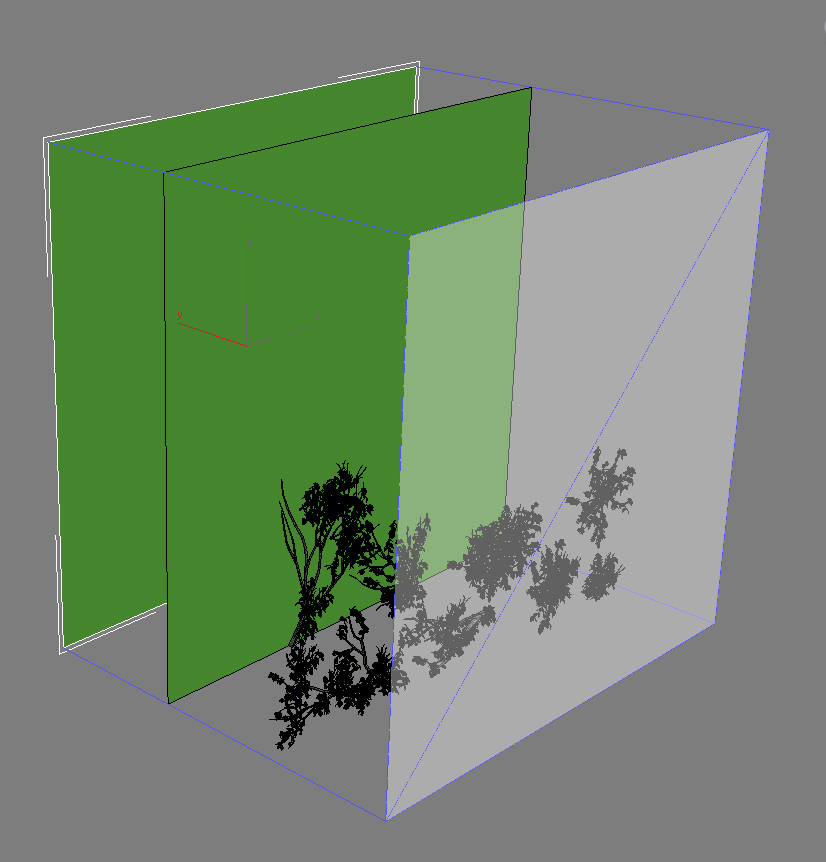
Make sure you familiarize yourself with this technique, particularly steps 3 and 7, the biggest differences between the tutorial in the link above and what we're doing in this tutorial is that with the tree foliage we're only working on a flat plane so in some ways its a bit simpler, but we'll also be rendering for an alpha channel. Select the square plane, (the one you created in step 1.6), make a copy and drag it behind the original, add a projection modifier, pick the original plane to add it to the reference geometry in the projection modifier panel, and pick the small branches.
Push the Cage out past all the geometry, now your scene should look something like this:
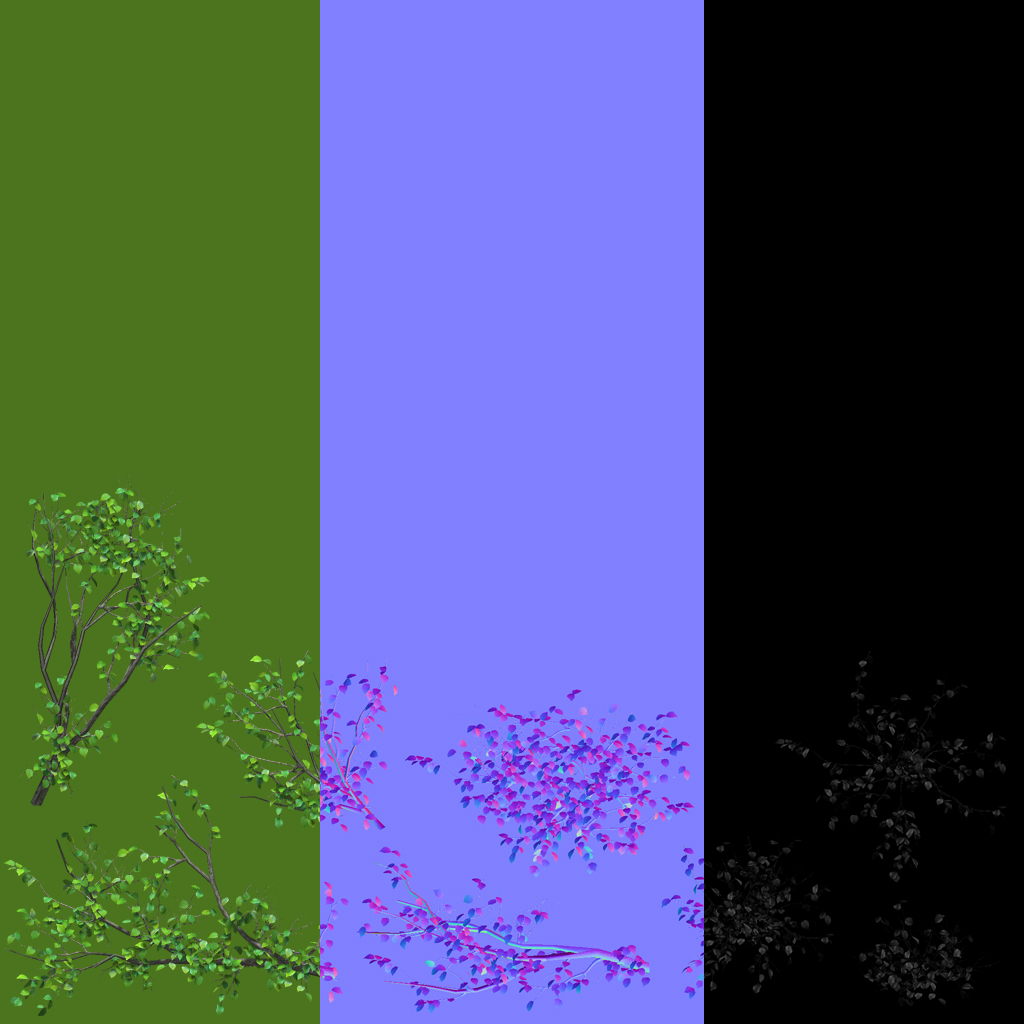
press '0' to open the 'Render to Texture' dialog box, add a diffuse, specular and normal map, open options, then Global Supersampler 'Setup' then tick the box 'enable Global Supersampler' Now click the 'Render' button at the bottom of the 'Render to Texture' dialog box, once its done rendering You should now have a diffuse, specular and normal map in the specified folder.
Assign a full black color to the background plane (not the projection plane), open the material editor and tick off the diffuse map from the leaf and branch textures that are assigned to your high poly models. Open the 'Render to texture' dialog box again and add another diffuse map. Name it 'myfoliage_alpha' turn off lighting and shadows and disable the original diffuse, specular and normal map from rendering by ticking off the 'enable' boxes, and disable 'Global Supersampling'. Hit 'render' and open the diffuse map and alpha map in Photoshop, put the alpha map into the diffuse maps alpha channel and save it as 32 bit.
That's the end of part one and that's all the Projection rendering you'll have to do for this little project, in part 2 ill cover LODing and building the rest of the tree.
Notes
This tutorial is written by Mikebart, greetings for granting us permission to host it.
