ArmA 1 Reflective Glass Tutorial
ArmA 1 Forum, ArmA 1 Home, ArmA 1 Config, ArmA 1 Tools, ArmA 1 File Formats, ArmA 1 Missions, ArmA 1 3D Modeling, ArmA 1 Terrain, ArmA 1 Texturing, ArmA 1 Scripting
ArmA 1 aka Armed Assault (ArmA)
Reflective Glass Tutorial by Obmar
Virtual Reflective Glass.
I have put together a basic folder to be used with this tutorial. Please download RefGlasTut_glass.rar from bottom of this page and unpack to your models working folder in O2.
Folder contains 6 files
glass_ca.paa
glass_ca.tga (targa copy for editing purposes)
reflect_co.paa
reflect_co.tga (targa copy for editing purposes)
reflective_glass.rvmat (material file)
glass-pass2.rvmat (material file)
These files can be used as a basis to apply reflective glass effects to all your models.
Step 1
Step 2
Apply the glass texture to the polygons you want to be glass or transparent, you can use the texture I have made (glass_ca.paa) or any other glass texture you want to use for your model.
HINT: I normally separate my mesh with the polygons I want to use as glass and give it a name in the “Named Selection” eg -glass. It is easier to work with when I apply the glass texture to the selection.
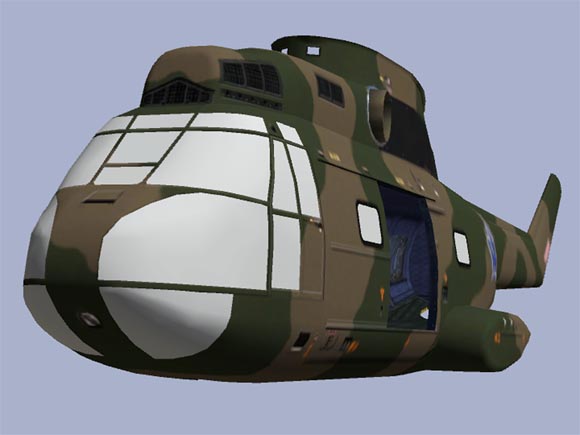
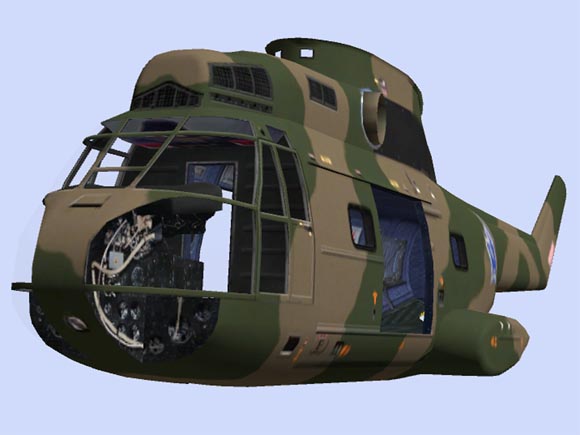
Now the texture is applied and the selection is transparent but does not look like glass yet.
Step 3
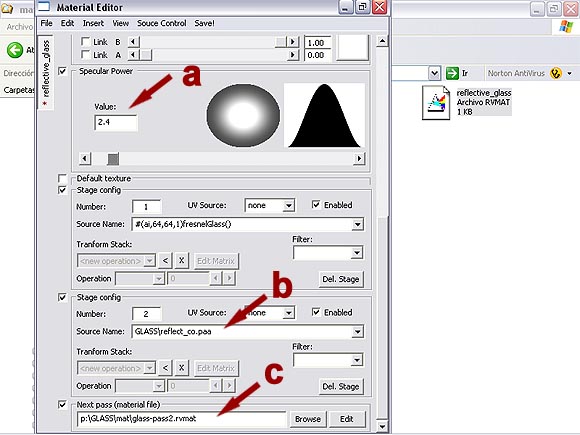
Go to the folder where you unpacked the glass.rar file and open the reflective_glass.rvmat file with the Material Editor or by double clicking on the file. A Material Editor screen will pop up as seen in the image bellow.
NOTE: if you opened the file in the Material Editor by double-clicking on it you have to press File/Open and open the file in the editor again otherwise you cannot edit it.
Don't know why it does that but seems to be a glitch with the software. Scroll down to the bottom of the material editor and only change the following entries.
a: is the specular power you want for you glass. HINT: the lower the value the more reflective the glass becomes, play around with the setting using the slider to suit your requirements.
NOTE: do not change the stage config no 1 as this is the standard FresnelGlass setting used by the ArmA graphics engine.
b: Stage 2 is for a texture that will give your glass a reflective aspect of the environment around you. I have used the standard BIS one as bellow but you could actually make one to suit your environment.
This is also a good way to apply reflection to your models rear view mirrors. Just change the UV texture from the glass one to a non transparent mirror type texture.
Click in the Source Name field and select the reflect_co.paa file from where you placed it in your model's work file.
c: This is the link to a material file (glass-pass2.rvmat) with an alpha pass. You can look at that file but do not change anything as that is a standard setting. Click Browse and select the glass-pass2.rvmat file from where you placed it in your model's work file.
Save the file and close the material editor.
Step 4
Open your model in o2 and select the glass named selection or the selection you want to apply the reflective glass material file to.
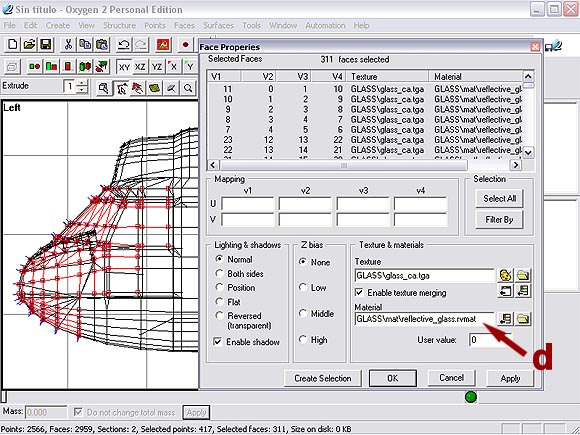
d: Click on the yellow folder on the right of the material field and select the reflective_glass.rvmat file from where you placed it in your model's work file.
Press Apply and then OK.
Step 5
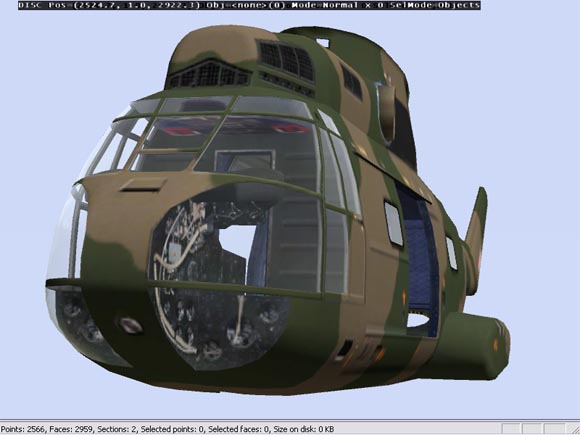
View the model with buldozer and there you have it lovely virtual reflective glass.
You can play around with the Specular Power settings as in step a: above to get more or less reflection off your glass.
Hope this tutorial helps and gives a little understanding of how the ArmA material files are applied.
Download
RefGlasTut_glass.rar from OFP-ArmA.Tutorial.Include.Files.2024-03-19/ Torrent Magnet:
magnet:?xt=urn:btih:3f74bfb31d795d124ff0a3b2d5c98c7b7c7da3c6&xt=urn:btmh:1220322d34f3fe96c02e4baa798c17198f84aa1bd98e544214e18ce4ab9d4f39457c&dn=OFP-ArmA.Tutorial.Include.Files.2024-03-19&tr=udp%3a%2f%2ftracker.opentrackr.org%3a1337%2fannounce&tr=udp%3a%2f%2ftracker.openbittorrent.com%3a6969%2fannounce
