ArmA 3 WRP / PEW Import Tutorial
ArmA 3 Forum, ArmA 3, ArmA 3 Config, ArmA 3 Missions, ArmA 3 3D Modeling, ArmA 3 Scripting, ArmA 3 Terrain, ArmA 3 Texturing, ArmA 3 Tools
ArmA 3 Terrain Builder Howto Import WRP / PEW Files by Lappihuan
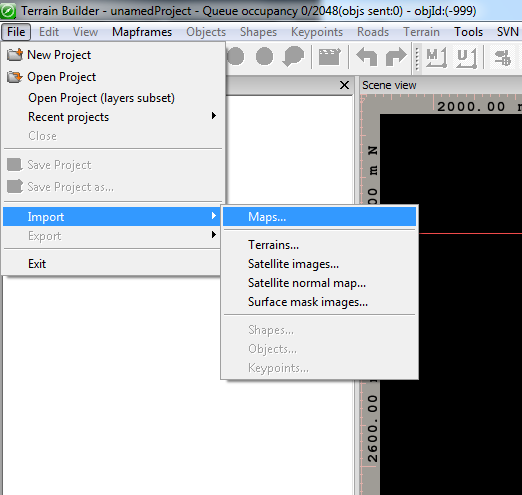
Open terrain builder and import the 8WVR WRP or PEW file.
Select your projectRoot (above the source folder “P:\myTag\myMod\projectRoot\source”)

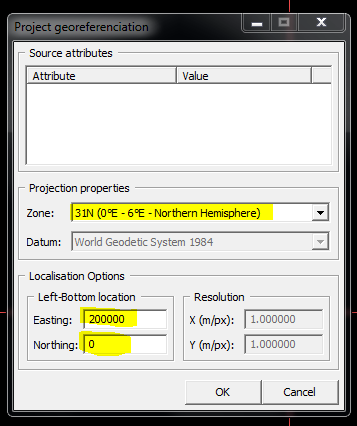
Make sure to have zone 31N, easting 200,000, northing 0 for road shapes to work.
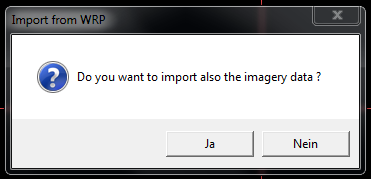
Yes or no it doesn’t matter, image data will be imported later.
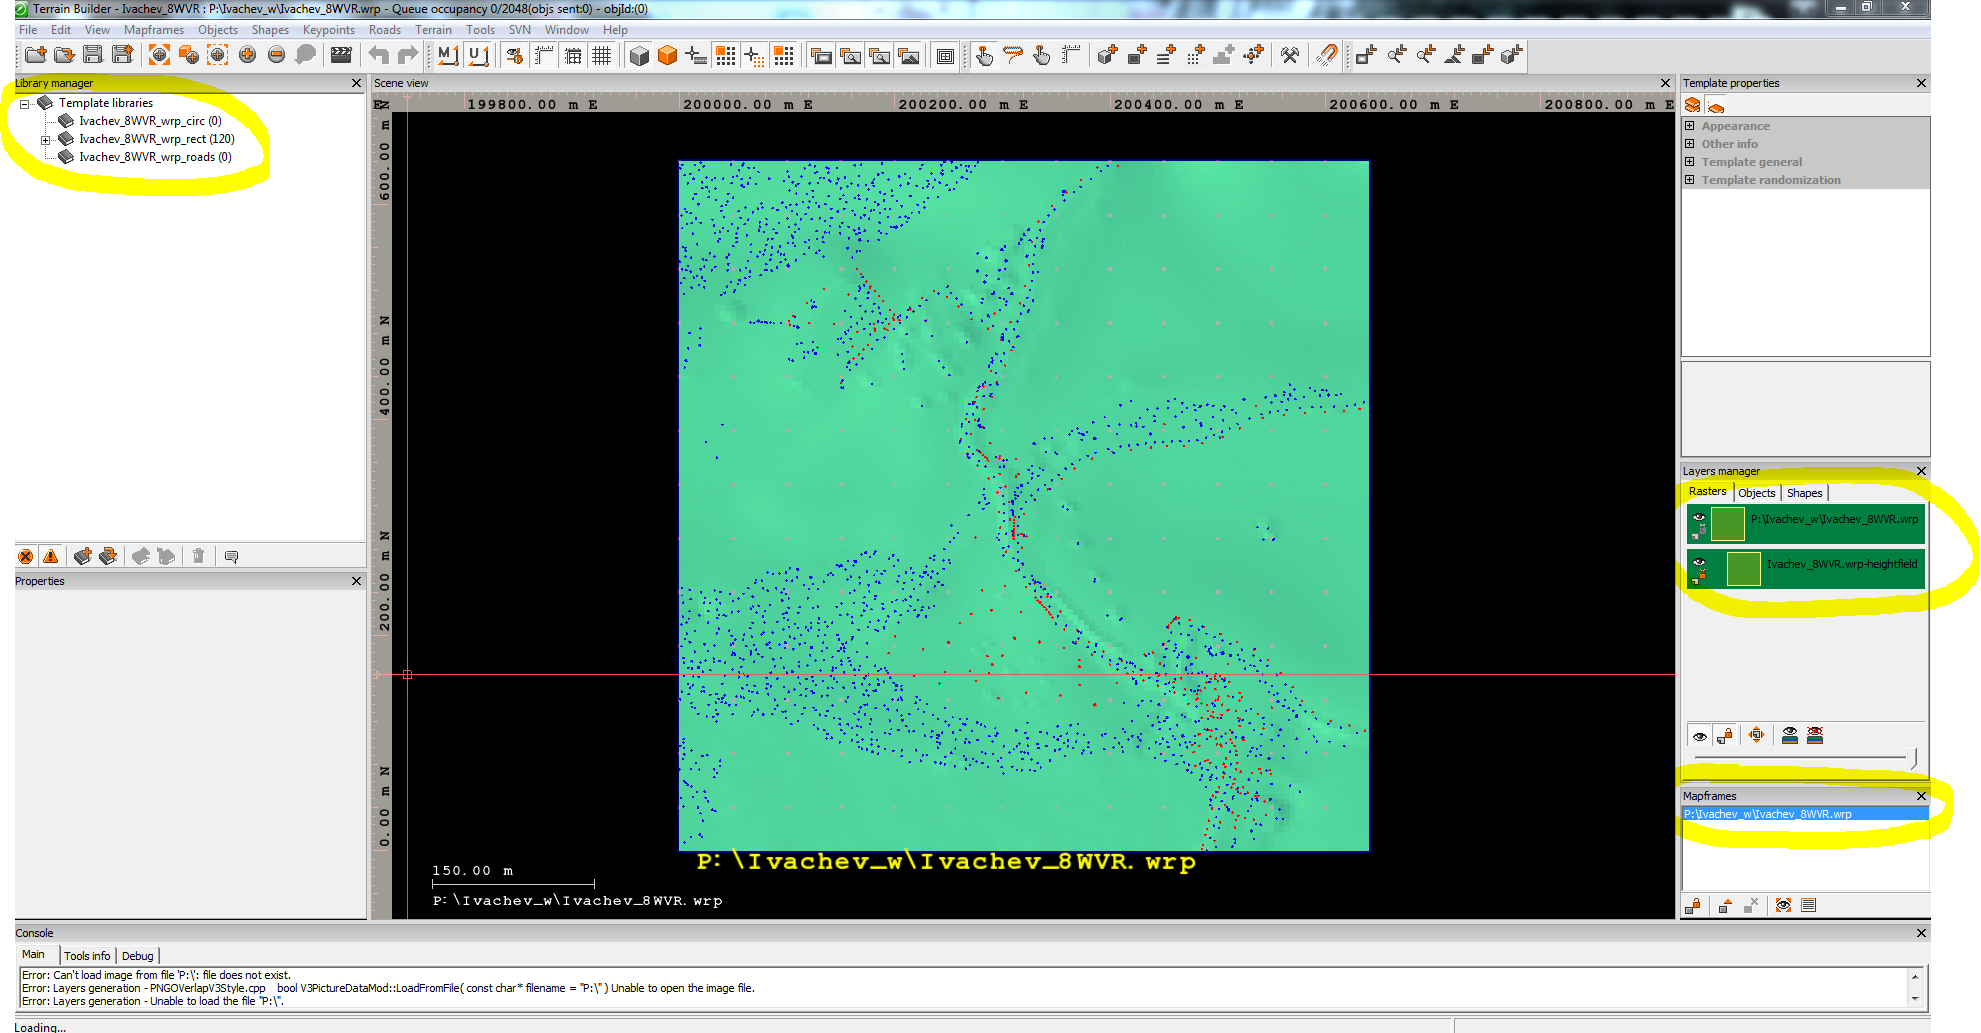
In the left side bar you have the object librarys that you will be replacing later with nicely split object librarys instead of the circ, rect, roads.
In the right side bar you have the layer manager, one is the source heightmap from the wrp and one is the terrain builder internal heightfield (internal is the one with a little offset to right).
Below the Layers manager is the the mapframe which you can dubble click to open the map frame properties.
But first lets import the mask and sat by drag & drop into terrain builder and selecting the correct option.
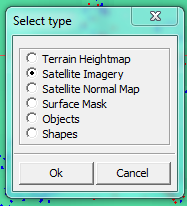
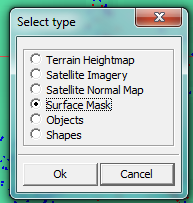
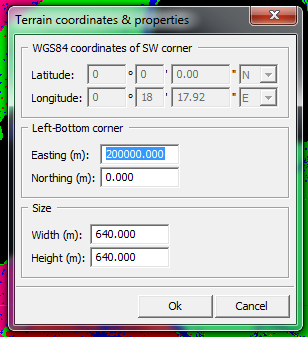
After importing both you might notice that it is not in your mapframe or its bigger than the mapframe, right click on the it in the Layersmanager and select Terrain coordinates & properties. Make sure both sat and mask have the offset set to easting 200,000 and northing 0 and the correct terrain size (in case of Ivachev 640 x 640m).
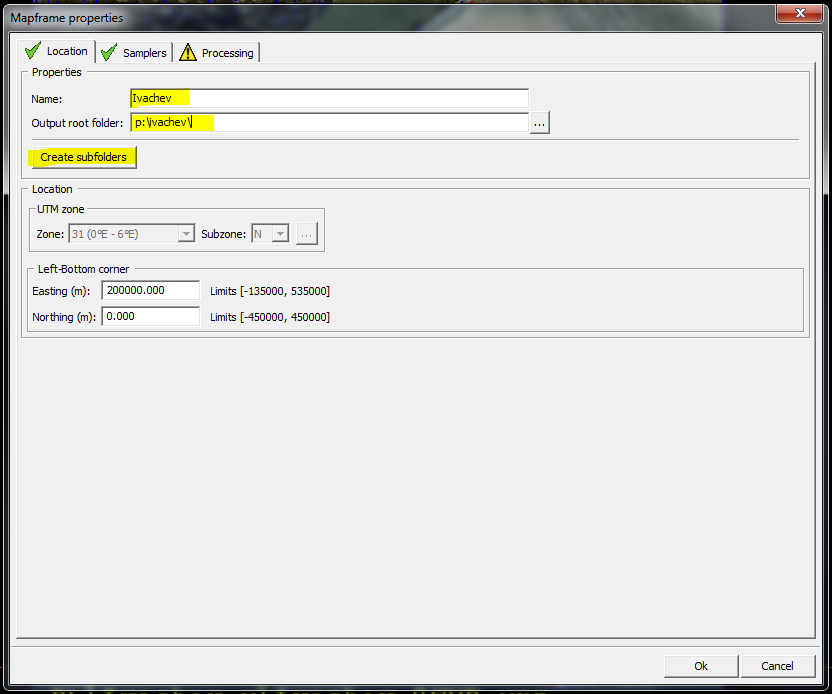
Now to the mapframe properties, double click your mapframe in the lower right corner to bring up the mapframe properties. Change the name to the island name and remove the \source fomr the Output root folder! and hit create subfolders.
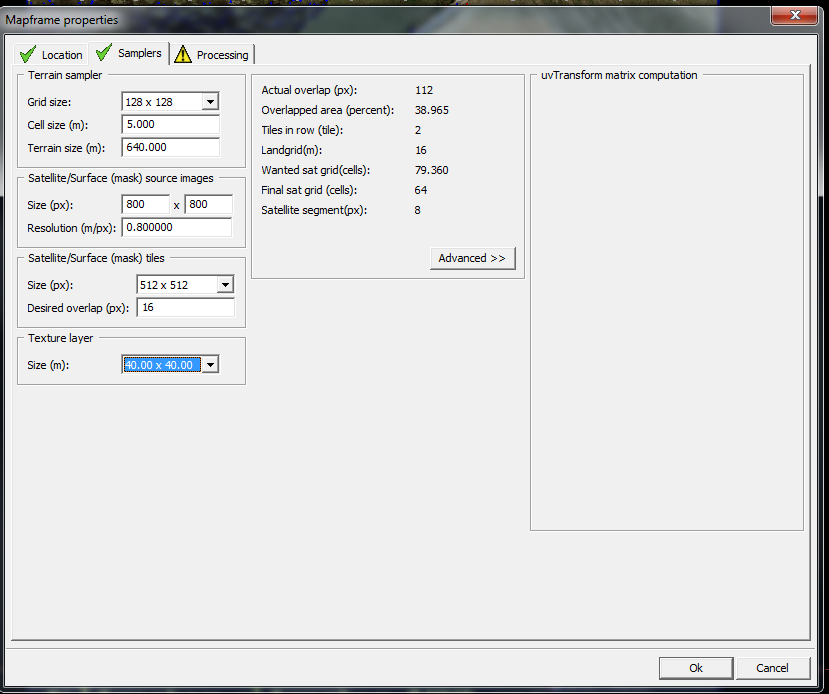
The sampler tab is a tough one as one can not really count that its correct, but anyway i will explain what is what and you will use what fits you best:
Terrain sampler
- Grid size: heightmap resolution (can be selected whatever you want it to be for better detailed terrain)
- Cell size: distance between each terrain vert (lower means higher detail but will affect the terrain size)
- Terrain size: results from Grid size and Cell size (for higher detail you could use Grid size 256×256 and Cell size 2.5 but thats totally up to you)
Sat/Mask source images
- Size (px): sat/mask resolution that terrain builder will use (you can set it lower when working on large terrains for quicker build times and buldozer loading times and change it later)
- Resolution (m/px): results from Terrain size and source image size
Sat/Mask tiles
- Size (px): tile resolution in which the sat/mask will be split, this is the resoluiton which the color count of the mask applies
- Desired overlap (px): overlap of tiles (should be kept 16px)
Texture Layer
- Size (m): quote from Bushlurker ingame size of an actual single instance of a ground texture surface square is usually about 1x1m or 2x2m They're then tiled out into that 40×40 area and that “chunk” is counted by the engins as a single “texture block” - then those 40×40 “blocks” are tiled up into usually something around a 12×12 grid of those, until now you're at the actual “Layers Folder Stage” Satellite tile - then THEY're tiled up to provide the final sat imagery - just keep it as close to 40×40 as possible.
You better hit OK at this point and save your project with File > save as.. in your source directory. the rest should be standard terrain stuff that is covered in the PMC Ultimate Terrain Tutorial.