ArmA 3 Road Shape File Making Guide
ArmA 3 Forum, ArmA 3, ArmA 3 Config, ArmA 3 Missions, ArmA 3 3D Modeling, ArmA 3 Scripting, ArmA 3 Terrain, ArmA 3 Texturing, ArmA 3 Tools
ArmA 3 Road Shape File Making Guide by m1lkm8n
At zerogs request I've decided to write a quick tutorial on how rectify your road shape file and get it into the game via global mapper.
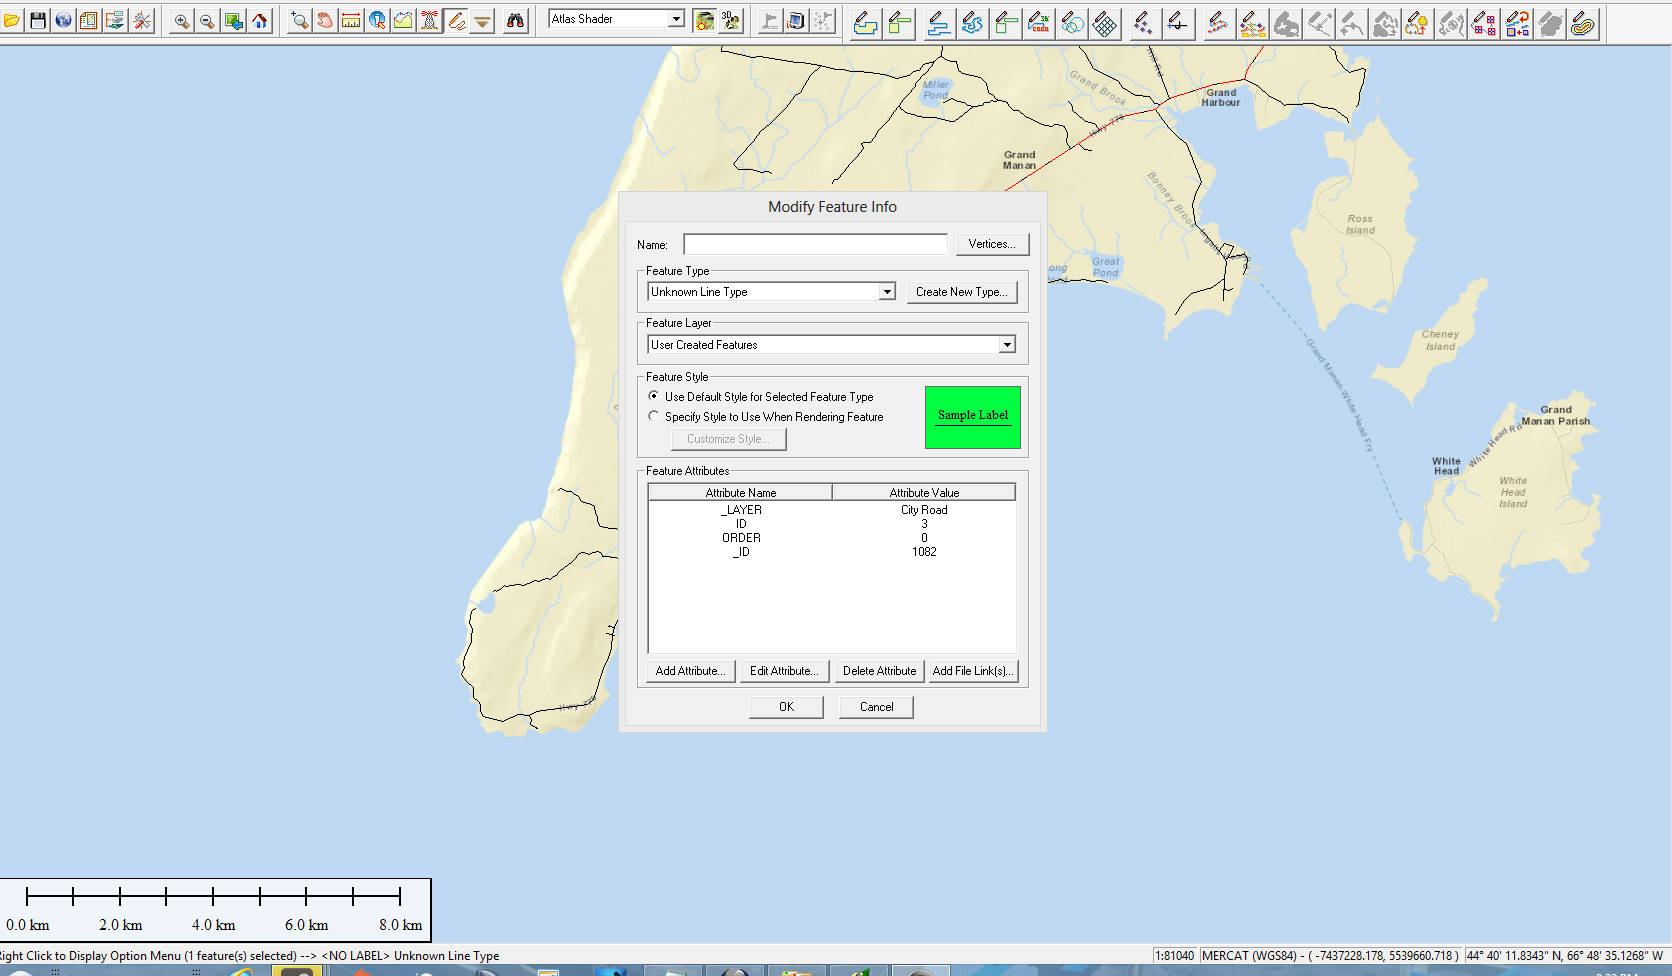
launch global mapper.then I select download free maps. select open street maps then zoom into my island which is grand manan and use the digitizer tool right click and select create area shapes and create rectangle/square specify cordinates. and dialog box opens up and i select draw a box button and draw and area around my island. then click ok. now you can save this area as a workspace under file. then i use the same digitizer tool but select create new line feature(vertex mode) and start drawing lines over where each real life road segment is. When placing additional road segments off of segments it seems to snap to the already drawn segment. left click starts drawing right click ends the segment. After each line is placed a box pops up asking for the feature attributes. the only thing we need to worry about is the feature attributes. There are four names we need to specify.
attribute names:
_LAYER
ID
ORDER
(this number being say 0 or 1 will represent which road surface gets drawn on top of another road which also takes into account the _ID number of the roads as well. so say you have two roads. lets say a main road and a dirt path intersecting the main road going from one side across to the other side of the main road. if your main road is ORDER 0, _ID 1 and your dirt path is ORDER 0, _ID 2 the main road will overlay the dirt path that is going across the main road. however is your main road is ORDER 1 , _ID 1 and your dirt path is ORDER 0, _ID 2 the dirt path will get drawn on top of the main road first.)
_ID
Then the attributes values:
_LAYER = City Roads,Road,Path
ID = is a number
ORDER = is a number
_ID is a unique number just representing each segment. I started with 1000 then went up 2 from there. So my segments go 1000, 1002 , 1004, etc. Each _ID number must be unique or it won't work.
For defining the road type, the ID value is the attribute value you have to look at. It is the same as in roadslib.cfg and by inspecting that file,
adding additional road types seems to be fairly easy. What also is easy and nice: changing road width is just a text value - so get ready for 8-lane Autobahn!

ID 1 = Highway, tar
ID 2 = Country road, tar
ID 3 = Dirt road, gravel
ID 4 = City road, concrete
ID 5 = Path, gravel
also adding in your own road sizes is as simple as adding another road class into the roadslib.cfg you can also actually add your own road as well which works pretty good but its an extra step. \
first what I did was create my road texture and I called it mainhighway_ca.paa
then I created a _nohq.paa for the mainhighway texture.
I threw mine files in to a data folder in my roads folder (so my directory looks like this gm\grandmanan\data\roads\data) then copied a rvmat from a3's road folder over into my roads\data directory inside the rvmat I pointed it towards my nohq texture.
I added a class into the roadslib.cgf and pointed them towards my paa files. I didn't add a end section to the road at this time as it was only for testing.
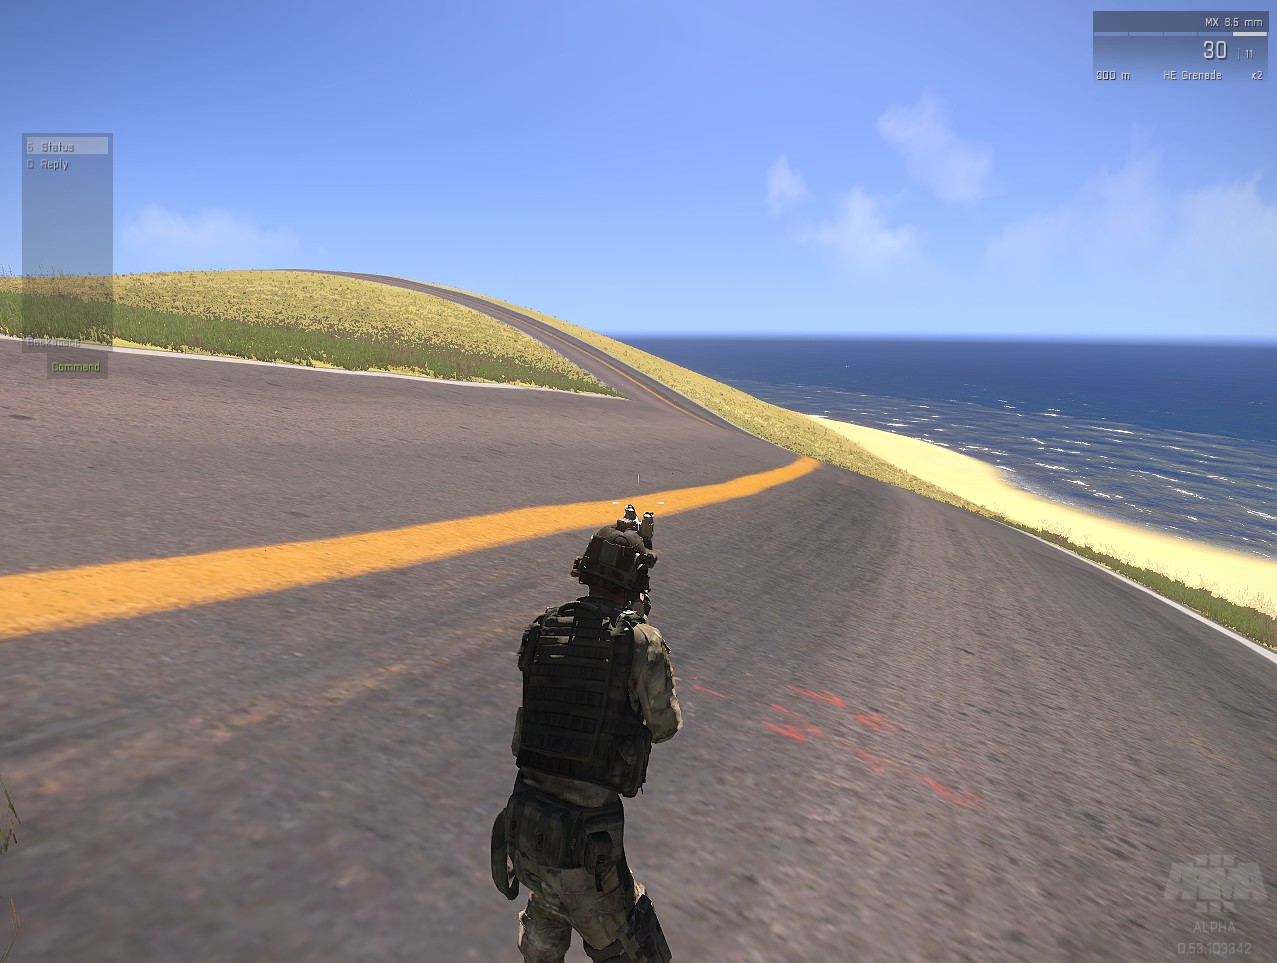
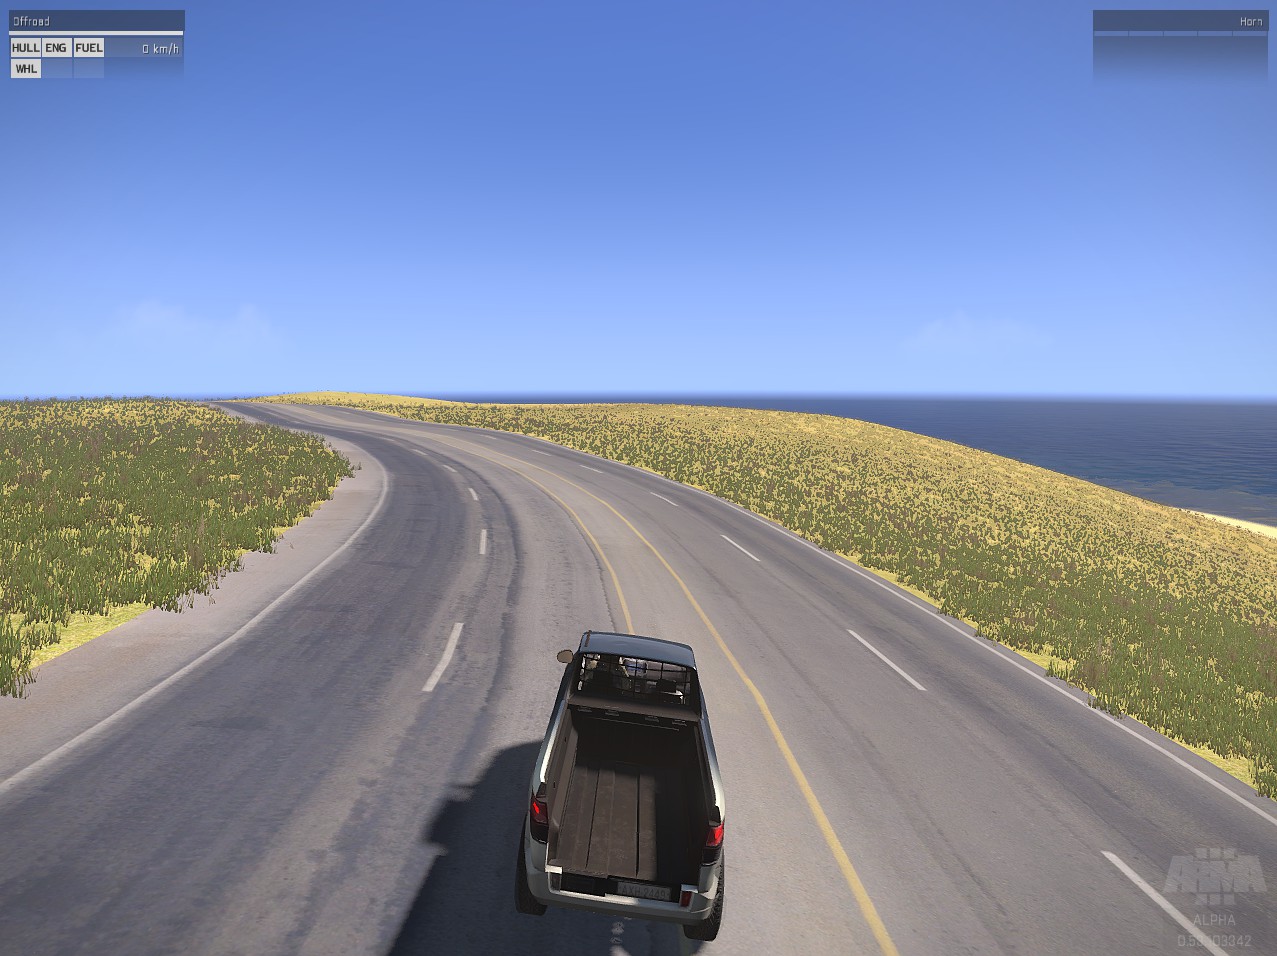
now the tricky part. after binarization i noticed the rvmat inside the roads\data folder isn't there so what I did was unpack the pbo moved the rvmat back inside where it should be and just repacked. and my roads in game. now the road was just for testing so its ridiculously huge and not very nice looking but this was just to show how to go about getting a new roads in.
edit- its so big because I didn't realize I had the width set at 30! doh Also I moved my newly created roads into their own pbo which doesn't get binarized, only packed, so if do that you can forget about the above step.
I redid my main highway road.
The dialog box auto fills with two attributes which I rename. Set each segment up like this
Once you map out all your road segments and are ready to export your shape file go to file export vector format and select shape file. A dialog box pops up where you can select only you shape file lines to export then you can select to export only a certain area or all loaded data.
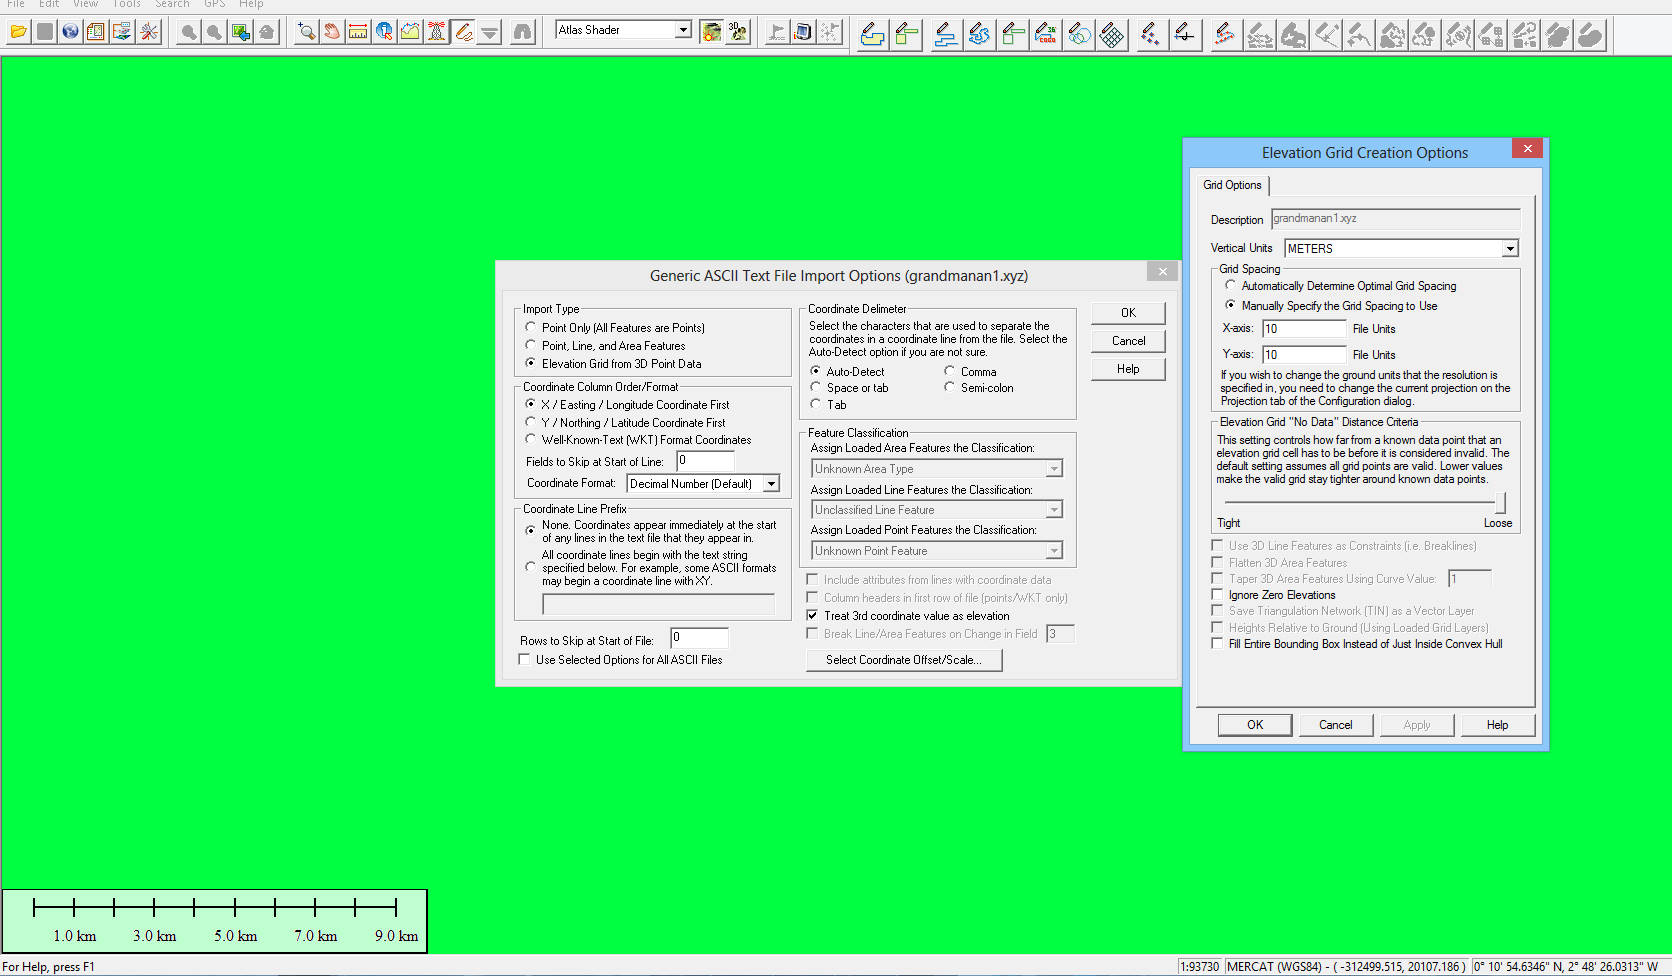
Next thing I did was select import my height map. if it asks for a projection select your islands projection type.
Second I import my shape file.
right now I have my height map and shape-file set in the same coordinates as stratis as I was still figuring things out. I will change that later but for now it's ok.
Edit- it seems right now the only acceptable geo location is stratis. So you will have to rectify your shape file to statis's shape file
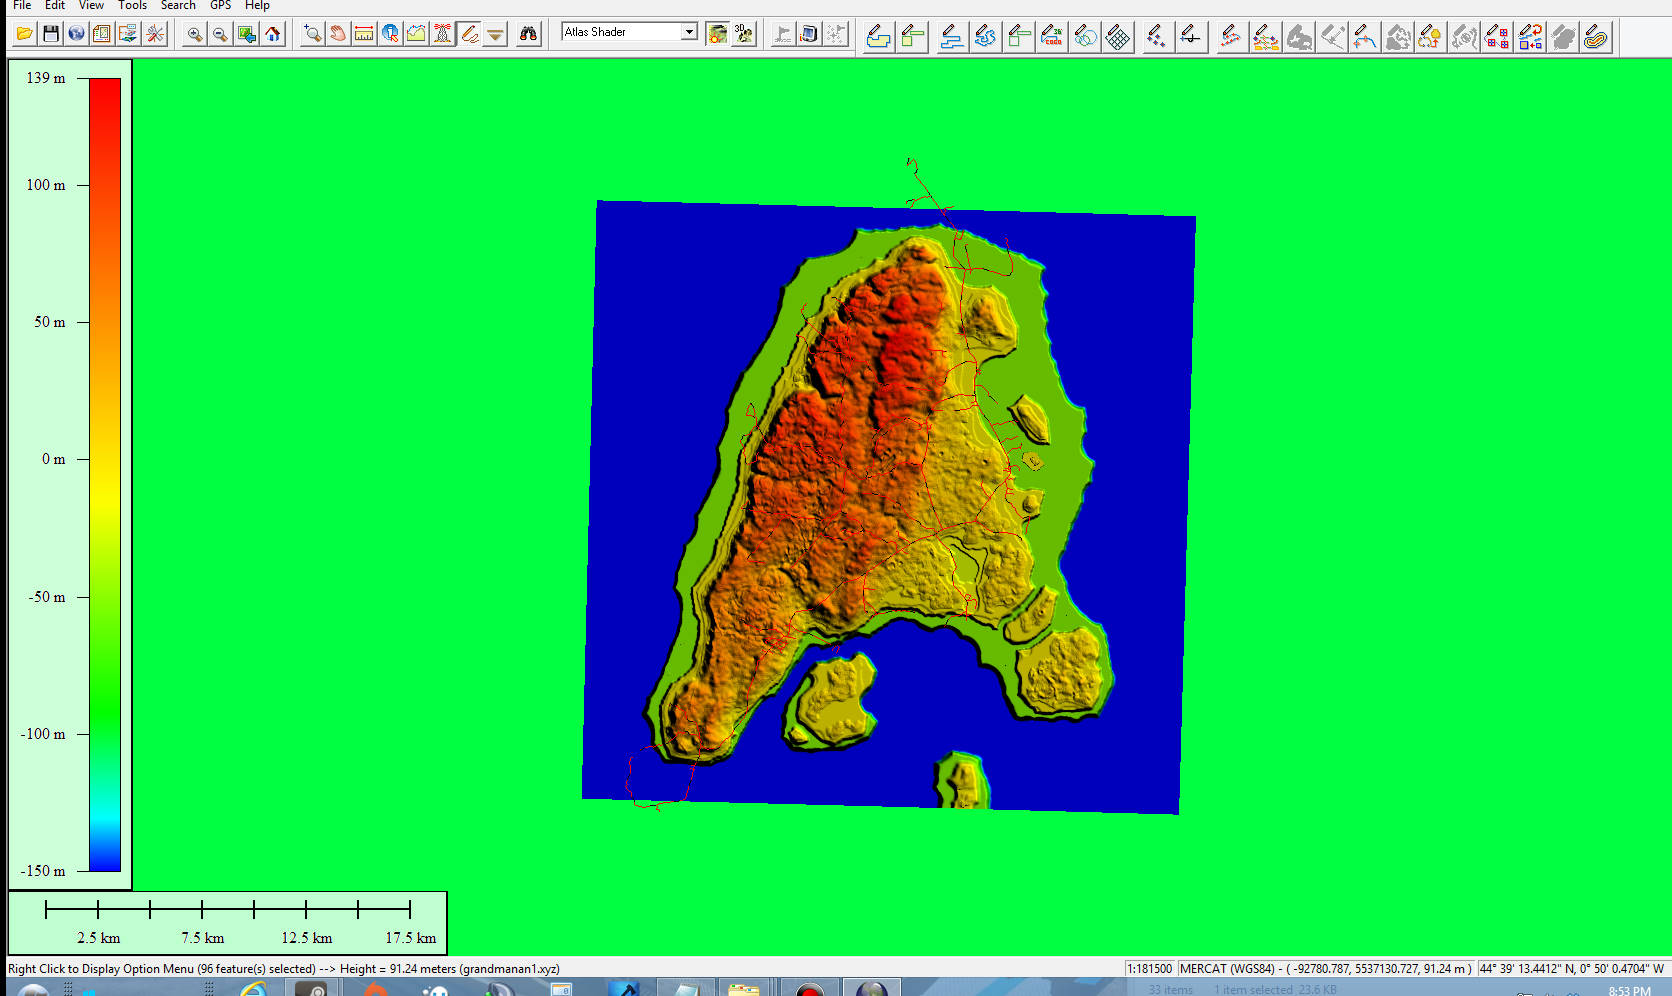
But since the real grandmanan is about 30 miles long and my height map is 2048 by 10 meter grid cells the road network will be way bigger.
Like this.
So we need to rectify the shape file to our actual height map we are using.
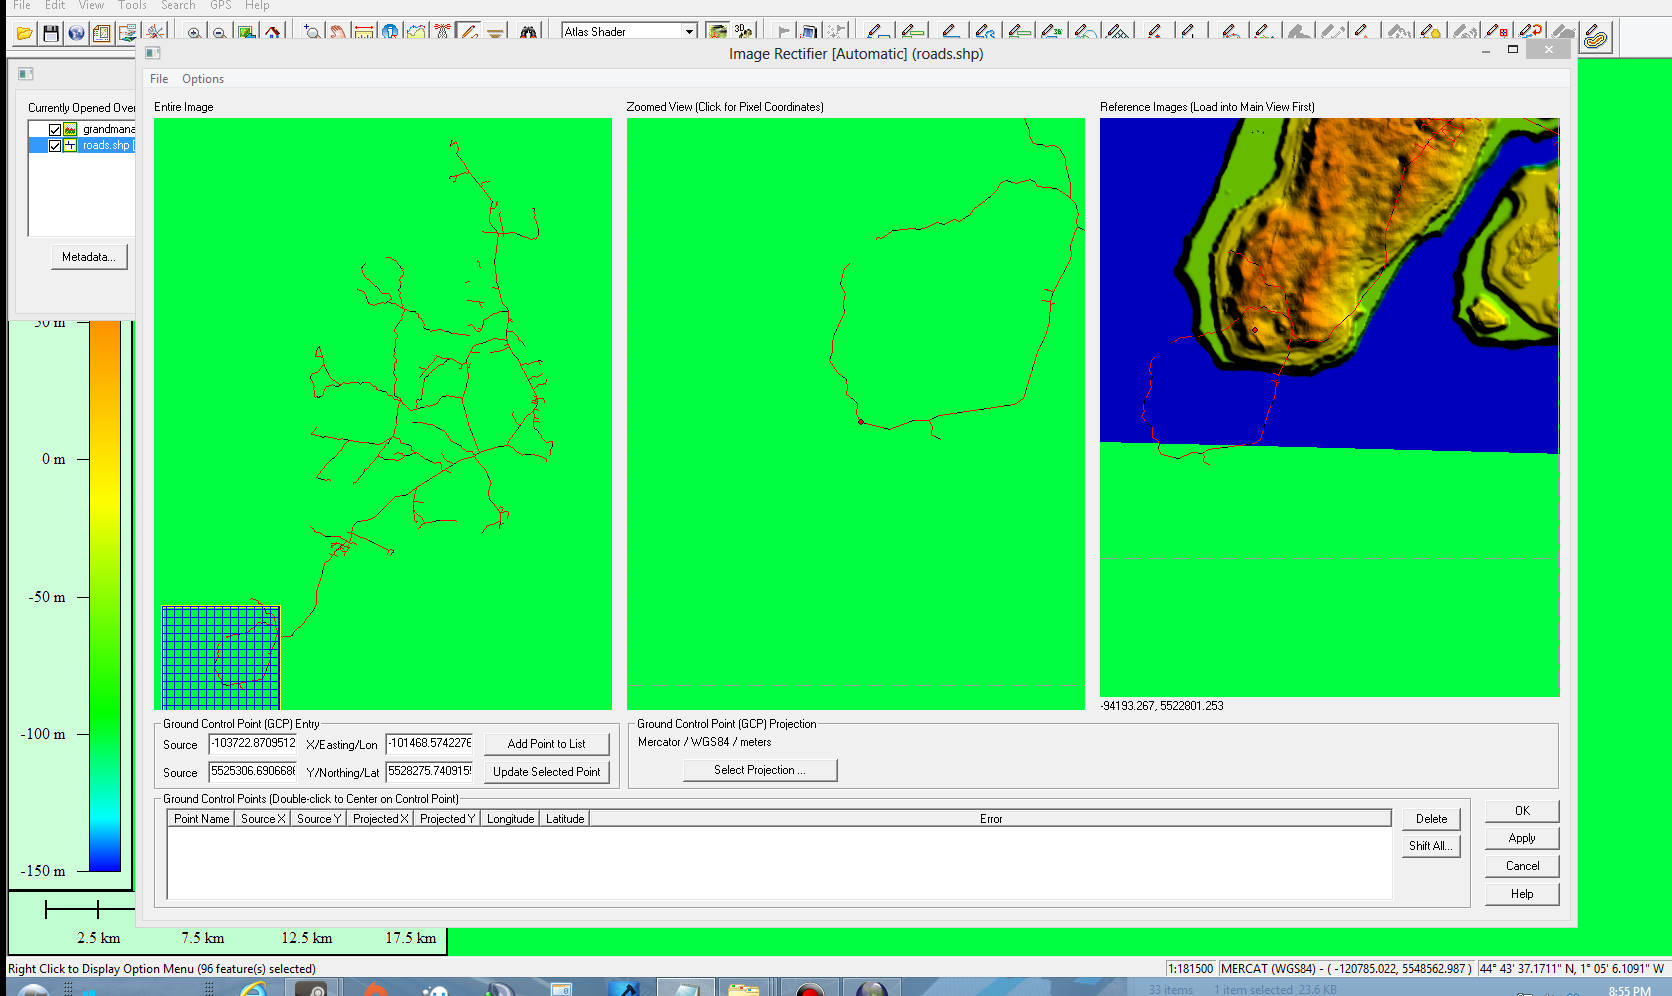
So now with both our height map and shape file open and the layer table open right click on the shape file layer in the layer table and select rectify.
Another dialog box with open with three selection areas. The first area is the height map and shape file image where you can click and move and zoom around the map. The second and third selection is either the shape file or height map. What you need to do is place a point down by clicking on the second area box and place a corresponding point down which represents the where the first point is in the third area selection box.
Like this
Then click add point to list. You need a minimum of two points to be able to rectify.
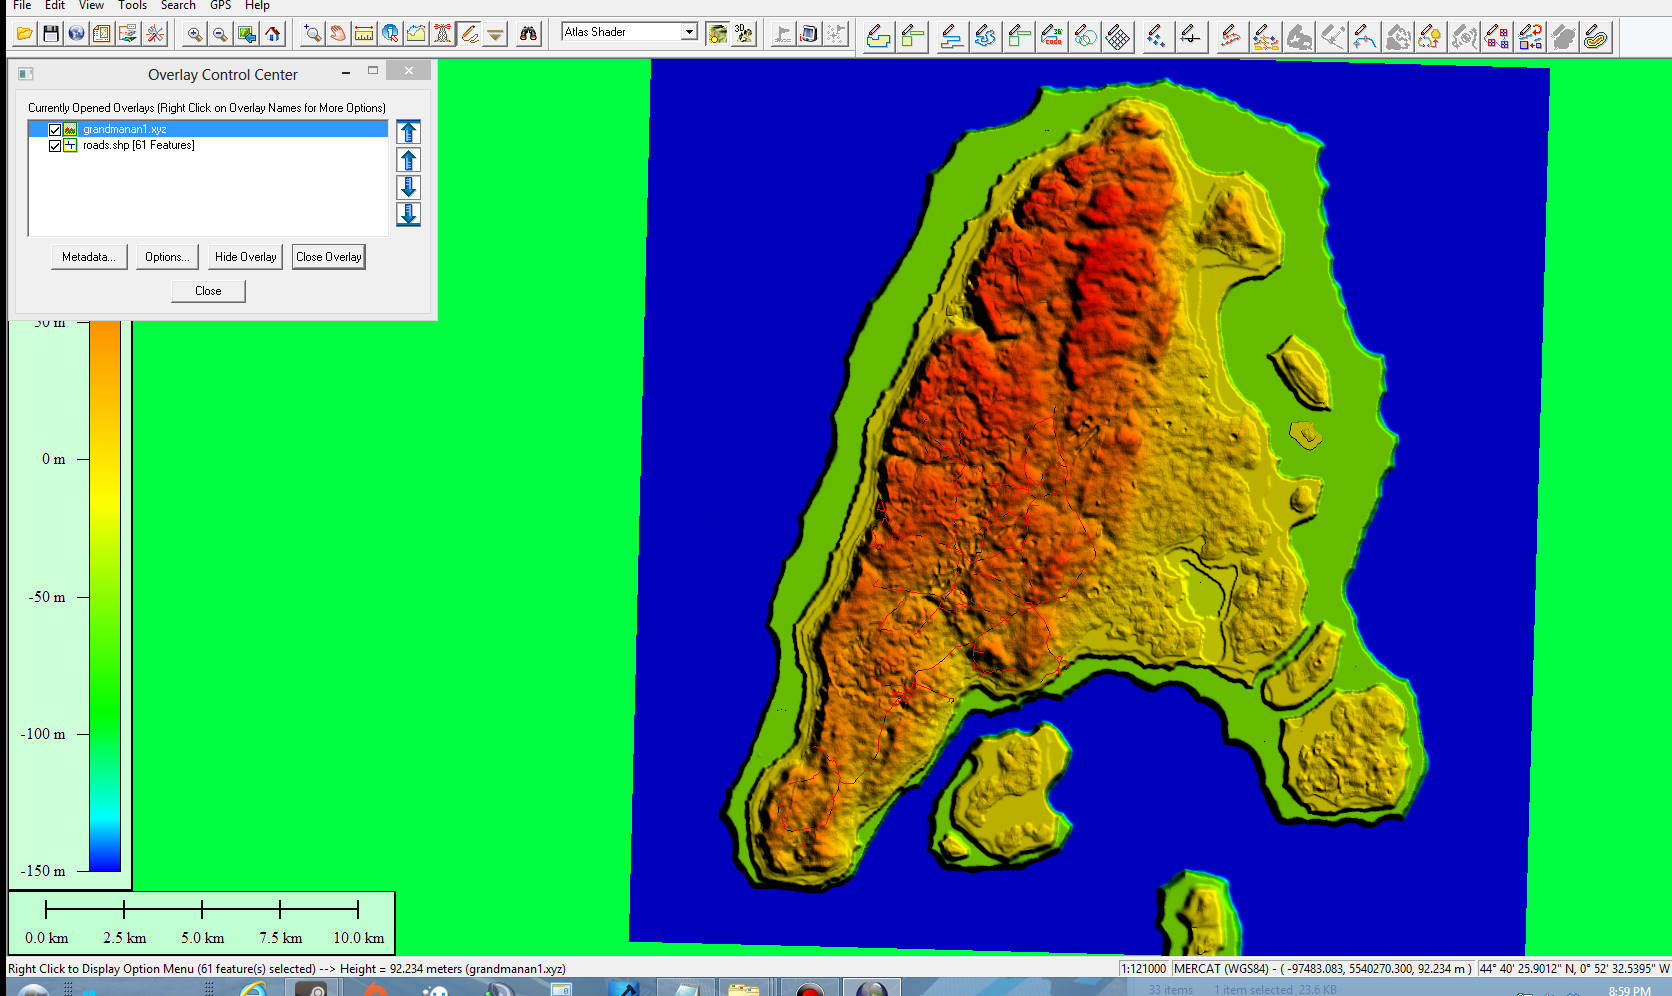
Once done placing points you click apply then ok and viola! Your road network is now shrunk to fit your islands height map. now i only placed two points down so its not really very good rectified image but you get the point.
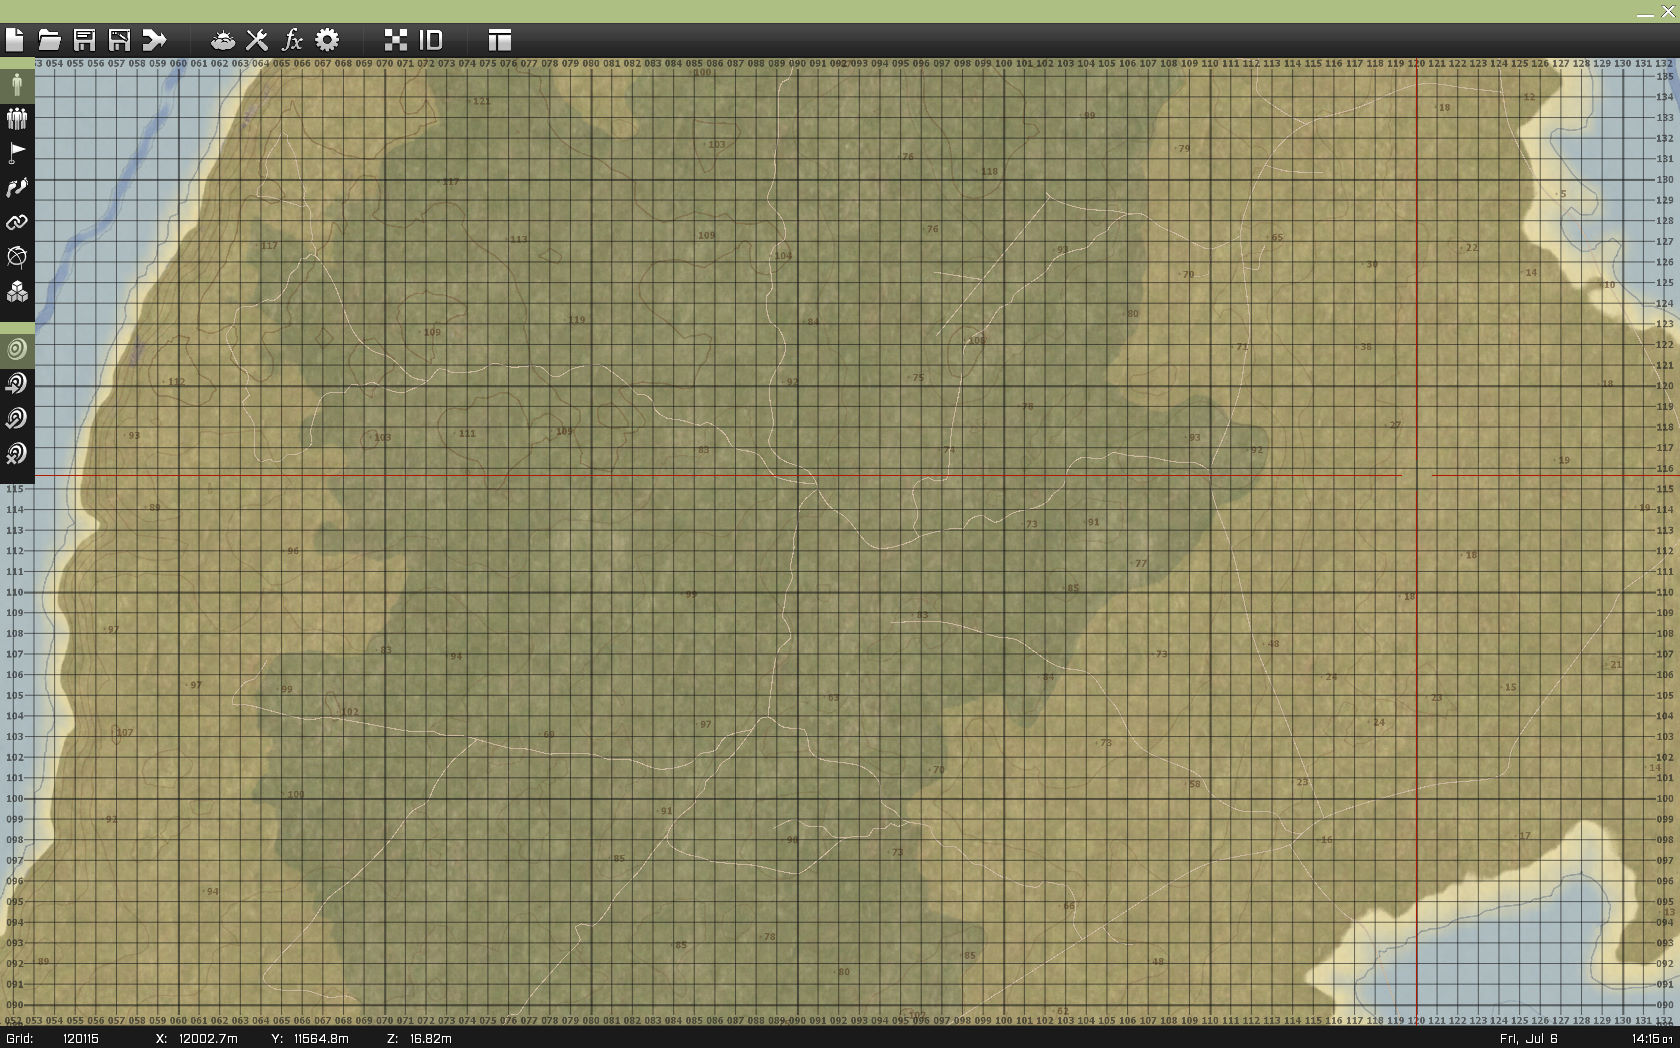
Now you can save and copy it to wherever you have your roads shape file specified in your islands config. and youll get this
Thought I would point you GeoFabrick OpenStreet Map Extracts
The files located here have ESRI shape files which include forests, waterways, buildings, and most importantly roads. Why draw your roads when you can just import them? I believe you want the files that end in .shp.zip.
Unfortunately not all areas are covered with that data though. For example, I don't believe Grand Manan is covered. Although it may be possible to use one of the other file types.
So then all that's left to do is rectify the shape file with your island if they have your data already available. anyway hope this helps
m1lkm8n

