Table of Contents
OFP Gizmo Mapping
OFP Forum, OFP Home, OFP File Formats, OFP Tools, OFP Missions, OFP 3D Modeling, OFP Terrain
Operation Flashpoint (OFP) aka ArmA: Cold War Assault (CWA)
Oxygen 2 Gizmo Mapping tutorial by Ebud
How I do it is like this.
Step1
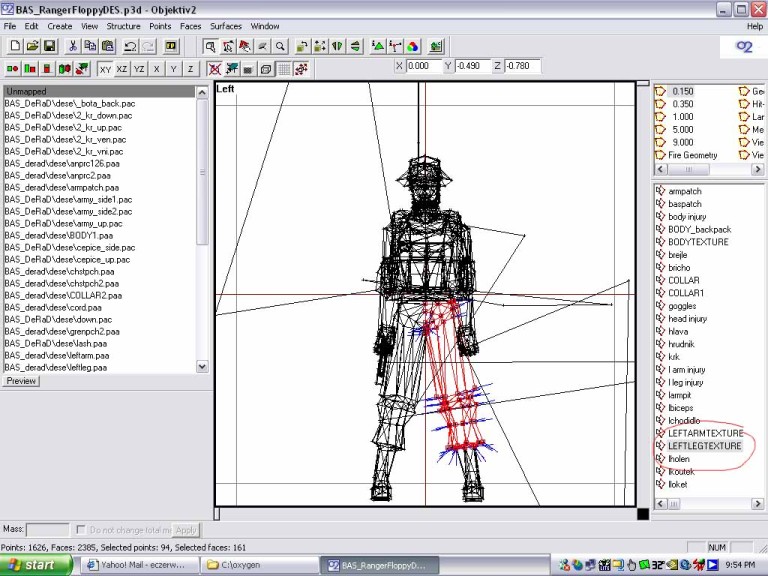
Grab something like a soldiers leg( just the polys you want wrapped by the texture), and make a new “selection” or group out of it so that if you click off of it, it is easy to grab again. If I lost you already, sorry. I'm including pics as reference.
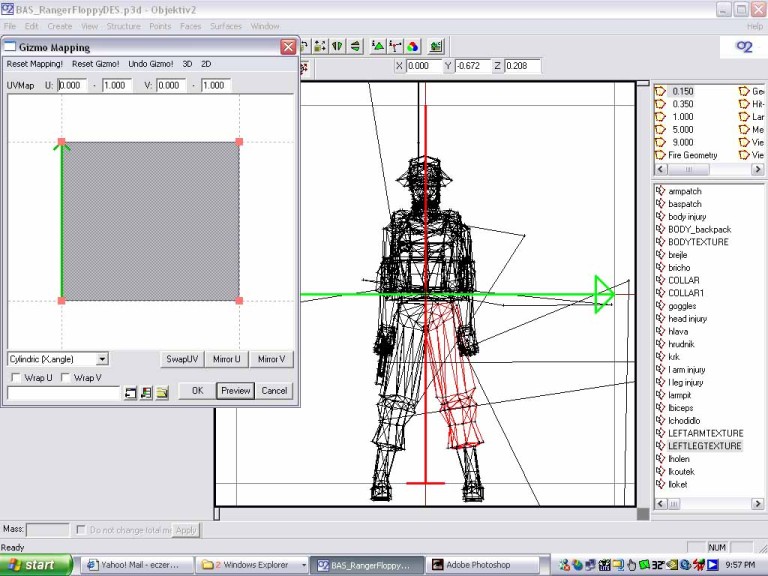
OK, now with the leg selected, goto the upper menu and select surfaces/gizmo mapping.
Step2
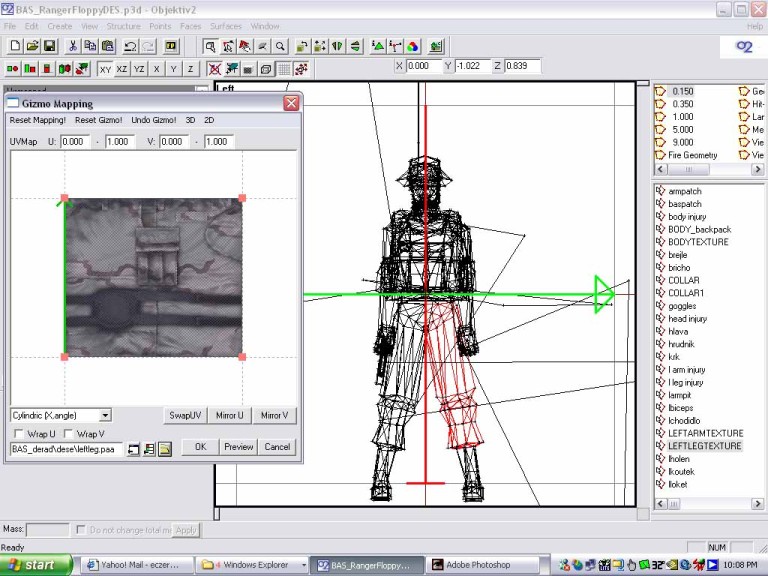
OK, now in the gizmo window, at the bottom you can select a texture. I'm selecting a leg texture I made that “should” wrap so that the seams meet along the inner leg so that no other disruptions or stretching happens… at least in O2.
Step3
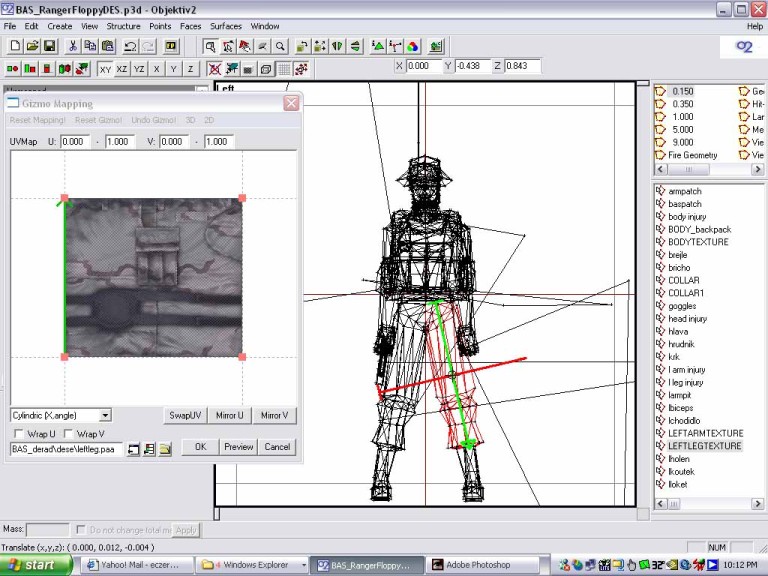
(See First 5 image links at bottom)
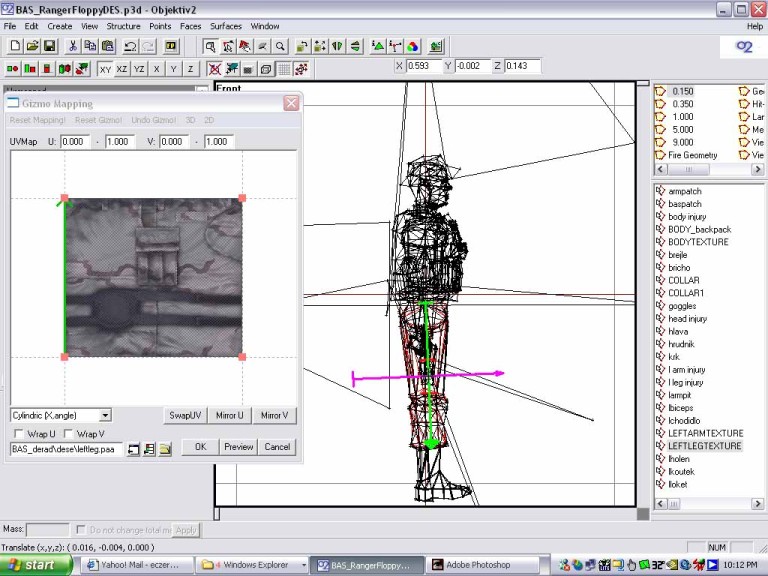
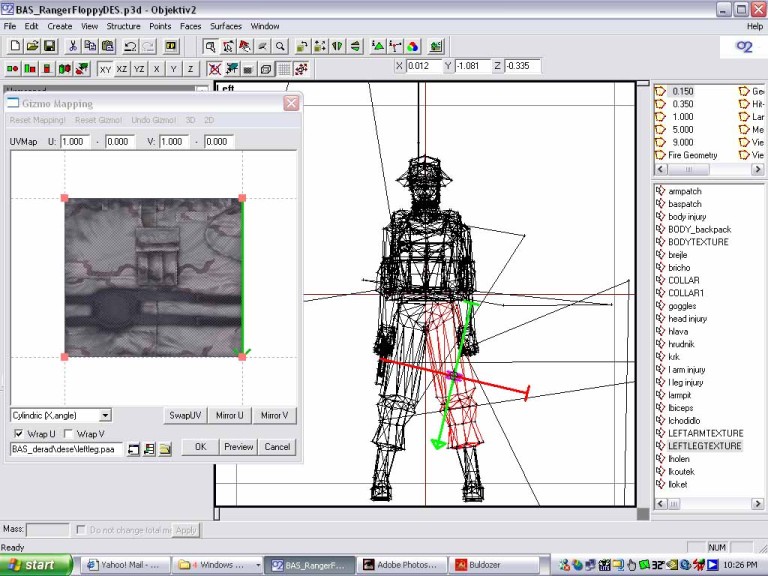
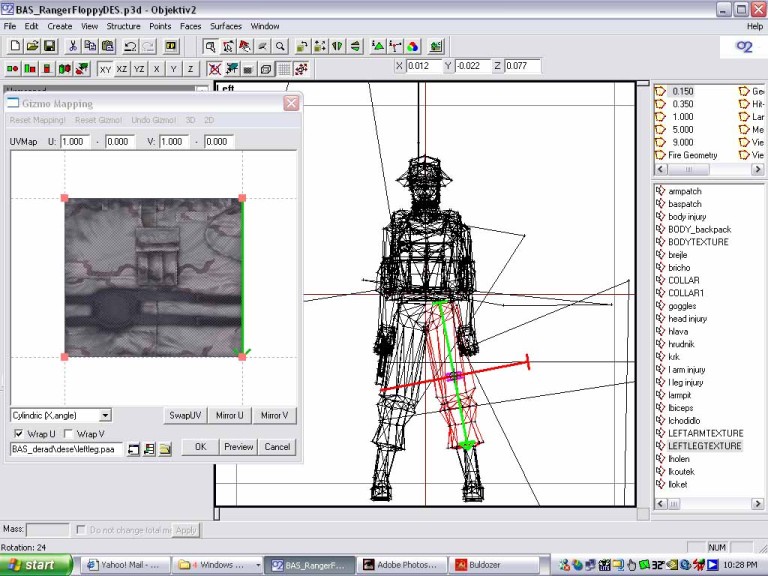
Now you see the green arrow in the gizmo window? That helps to tell where the texture is pointing. Now look in the 3d window. You want to scale down the arrow and rotate it so that the axis of the arrows in the 3d window are centered in the leg. Look at the pic to see how it was moved, scaled and rotated. To rotate, hold the cntrl key and move the mouse. To scale hold shift/cntrl and move the mouse. There are 3 pics showing this. Oh, for cylindrical wrapping of things like the leg, or a gun barrel, click the box named wrapU, and keep the dropdown box cylindric,x angle. Experiment to see what happens otherwise. The other setting are good for other things, but I haven't figured that out yet.
Step4
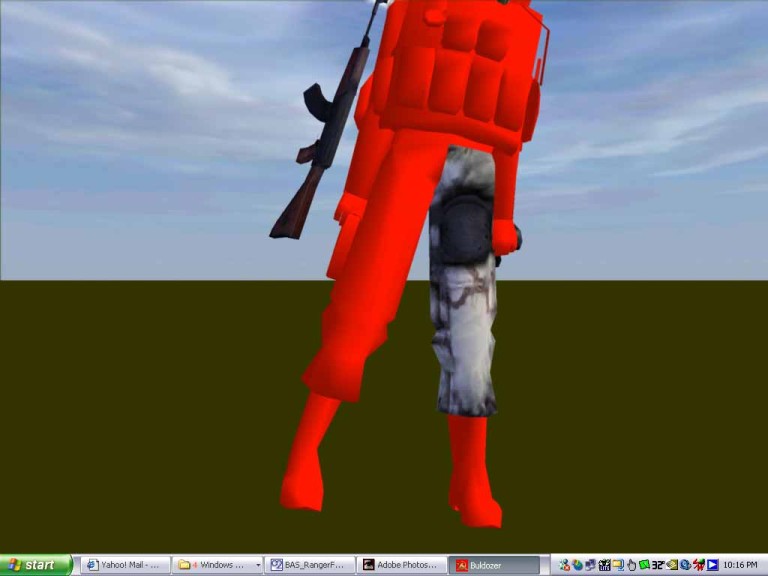
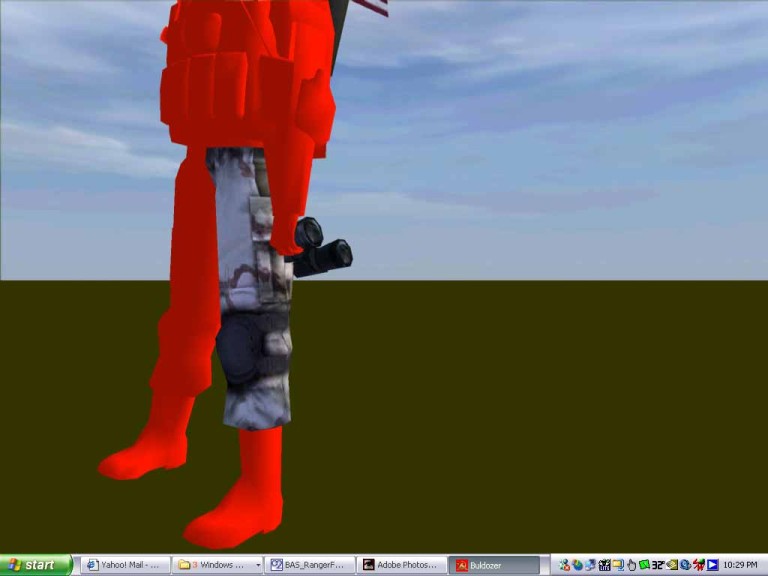
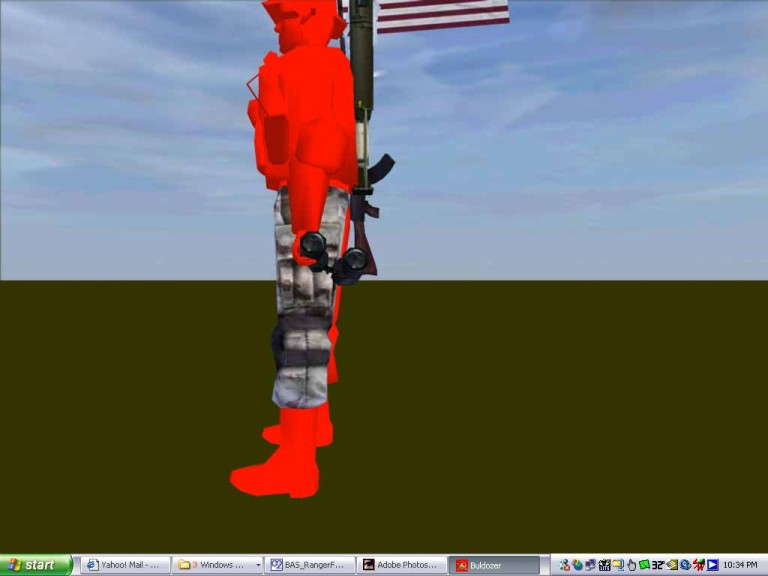
Now preview this in Bulldozer.
You can see from step41 you can see it's upsidedown and rotated 180degrees opposite of what we want. So go back into the gizmo window and click on mirror U. You could have went into the 3d window and just rotated the gizmo just as easily. Now hit preview.
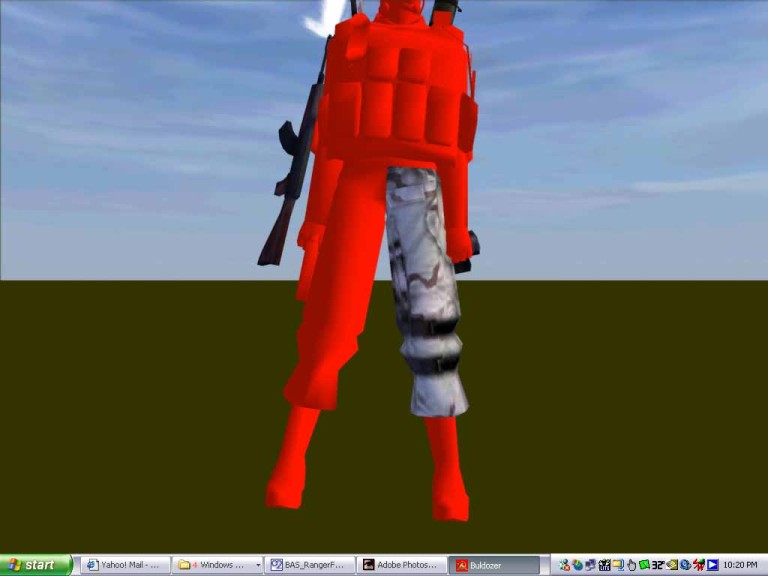
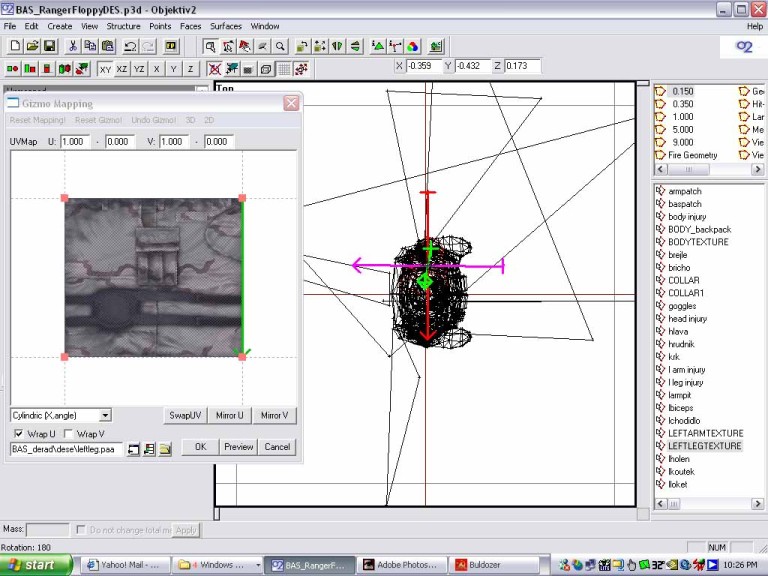
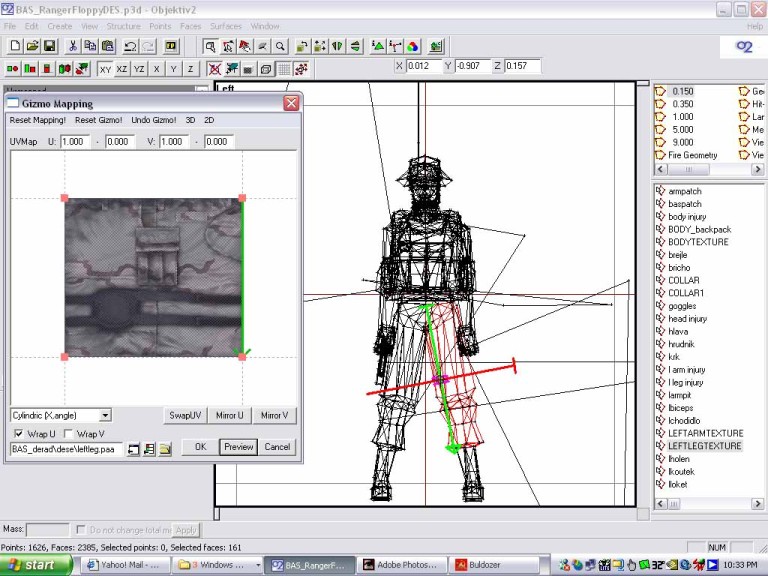
You can see in step42 that its now rightsideup, but the back of the pants are facing the front, and that the outer cargo pocket is on the inner leg. Now now we will go back into the 3d window and rotate the gizmo 180 so that the back moves to the front. From the earlier pic you can see the purple arrow is pointing forward. We'll rotate it from the topdown view, then the front view because any change we make on the Y axis will throw off the other axis as you can see going from step43 to step44.
So now step43 and step45 have the correct size and rotation. Now preview the mapping.
In step46, you can see the mapping has the correct angle and correct rotation. If the gizmo is off in any direction the texture will stretch and warp. Look at off1 and off2 to see how this happens.
Well in off2 it looks better than it did when the gizmo was where it should be. But if you look at the inner thigh the pixels are really squeezed together in certain spots. This means the texture is off even if it looks fine normally. So you can see its not an exact science. It takes a good eye, lots of patience and some Photoshop skills.

