Falcon 4 Terrain Tiling tutorial
Falcon 4.0 Forum, Falcon 4 Home, Falcon 4 Campaign, Falcon 4 Cockpits, Falcon 4 Database, Falcon 4 File Formats, Falcon 4 SRTM Terrain, Falcon 4 Terrain, Falcon 4 Textures, Falcon 4 Tools
This is made referring to Falcon 4 Operation Desert Storm (ODS), but it can be used for any other theater.
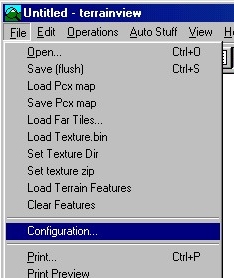
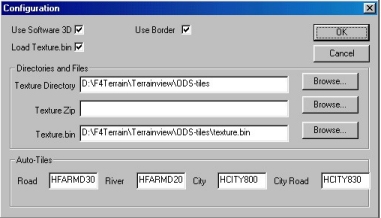
First open terrainview, then select File → Configuration and select texture directory where your tiles are located. It could be good to store ODS texture.bin to this same dir. You can leave the texture.zip line empty, as you don't need it. Auto-Tiles selection is also important to setup like in the image here, so the autotiling works with correct tiles and you don't need to change them
Next click open the View Tile Palette and it loads all tiles for you to see.
Open the terrain file (theater.L2).
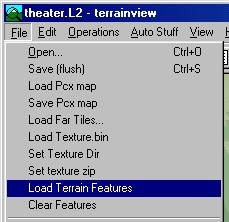
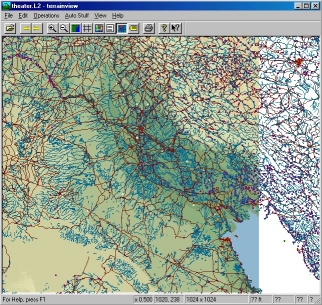
Load terrain feature files, its the only one TDF file in the package, its named “Features.TDF”. You can use CTRL-F to turn off/on the features, they remain loaded even if you turn them off. By using CTRL-L you can turn off/on the labels. This is major difference on the map screen clutter, you'll find out. When the terrain is loaded with features, this is what you should see.
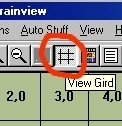
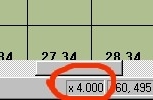
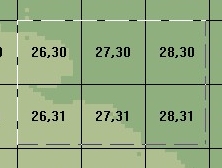
Now remember the Tiling Assignment what you got from the tiling coordinator? Turn off the features (CTRL-F) to speed up the map scrolling, zoom the map to x4.000 and click the View Grid.
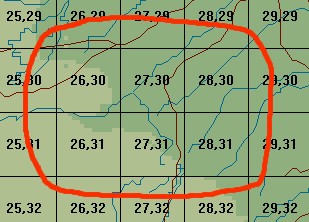
Now you have the segment numbers on the screen, turn on the features again (CTRL-F).
Lets say your tiling assignment is 26,30 to 28,31 so you scroll the map that you have these segments on the view.
The top-left segment is the first (26,30) and lower-right segment is the last (28,31) so you will be tiling everything between these two (26,30 - 27,30 - 28,30 - 26,31 - 27,31 and finally 28,31).
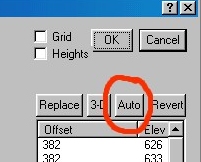
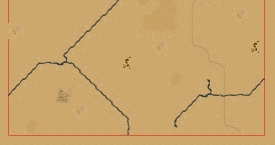
OK lets tile. Double click the segment (27,30), it opens up the Segment View window. Now you must autotile the segment by clicking Auto icon OR if the terrain is pre-autotiled already you will see roads and rivers in the segment view. Autotiling (if you need to do it) will take few moments the first time, but after this is just matter of seconds. Ok now as you look the segment, the autotiling routine of TerrainView made few mistakes. The mistakes are outlined in red. They even might not seem as mistakes, as is the case with the rivers on the left, but as you see the big picture from terrainview main view, you can see the river never stops.
You need to fix the river crossing and river here. 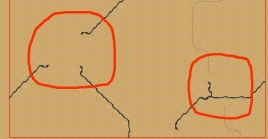 Just use the mouse to drag river crossing tile from Tile Palette into the Segment View, also you can draw tiles from inside the Segment View so you don't have to go pick them up from Tile Palette. Here is image of the fixed segment.
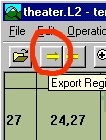
Now that you have completed all the segments, from 26,30 up to 28,31 (six segments) its time to export them into L2C file. This will happen when you click Export Regions icon, then you need to drag a box around your segments you want to export. Please note that you should use x4.000 zoom level so its easier to drag the box around your segments. If you use other than x4.000 (and I think x6.000) the box wont fit to the segments and you export some segments you didn't want. So lets make sure the zoomlevel is x4.000 and then click Export Regions.
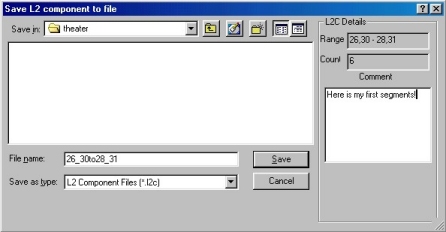
Now that you have dragged the box around the segments the save dialog pops up. Here you should name the export file like XX_XXtoXX_XX.l2c - OK little more explanation is in order :) your assignment was 26,30 to 28,31 so it would be like “26_30to28_31”, please don't name it like “my 26,30 to 28,31 segments” as spaces in filenames is pretty gay. Also you don't have to type the .l2c extension, it will be added automatically.
Then you just email that 26_30to28_31.l2c file to the tiling coordinator and that's it. btw if you want to make sure, you should zip up the file so it wont corrupt. But its not necessary really, do it if you want to be sure.

