OFP Spherical Gizmo Mapping
OFP Forum, OFP Home, OFP File Formats, OFP Tools, OFP Missions, OFP 3D Modeling, OFP Terrain
Operation Flashpoint (OFP) aka ArmA: Cold War Assault (CWA)
Spherical Gizmo Mapping Tutorial by remcen aka hottentotten mike
The Problem
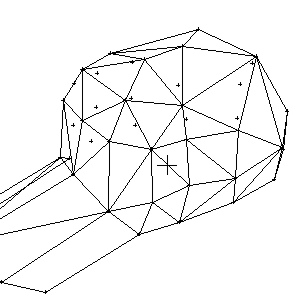
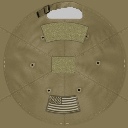
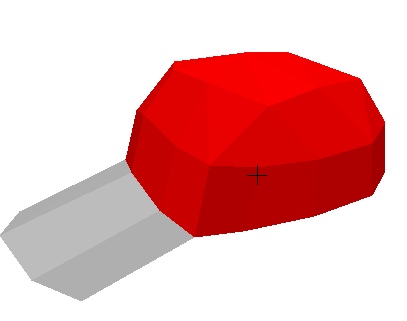
We want to map this cap:
there are two options:
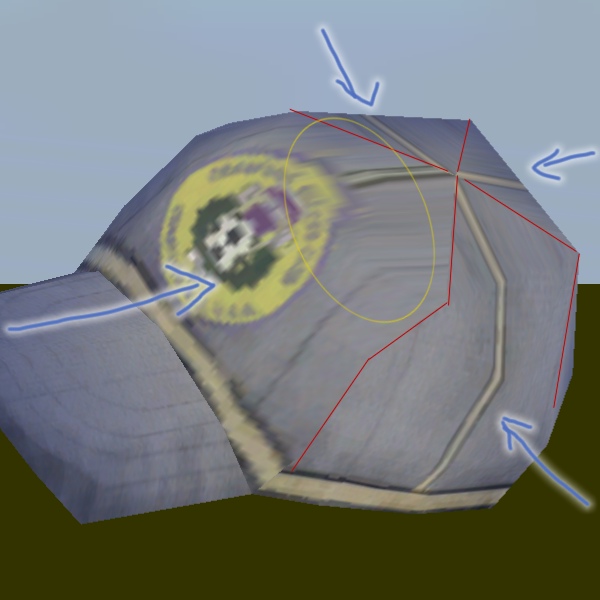
1) Flat mapping
In the O2 windows from each side, bit by bit, indicated by the blue arrows in this pic:
The red lines show the borders between the individually mapped areas, thus the ugly joints where the parts of the textures don't fit together.
The yellow area shows the other problem: If you flat-map an area which is not flat in fact you get these areas where the texture isn't applied perpendicularly.
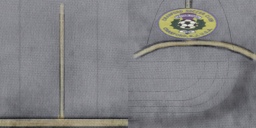
The respective texture used looks like this:
How do we circumvent these two faults of flat mapping?
At best we map the whole cap in one operation. Here, Spherical Gizmo Mapping comes into play which is option two…
2). Spherical Gizmo Mapping
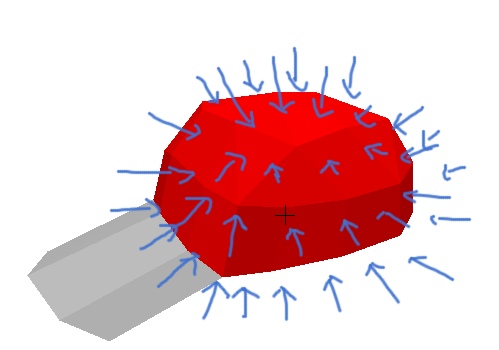
Doesn't map your selected area flatly, but rather builds up a sphere and maps the selected area perpendicularly from that area.
Here's a picture to illustrate it
The blue arrows symbolize again the direction of the mapping process. For this reason it should be clear that the texture used must make allowance for that.
The texture now looks like this:
As you see it looks like the cap from all angles at the same time.
Now… How do we apply that texture to the cap properly with the Gizmo tool?
A Quick Guide To Spherical Gizmo Mapping
a) How does it work generally?
If you map an area “normally” the mapped texture is flat. Now imagine that for spherical gizmo mapping your texture is wrapped onto a sphere and from this your area is mapped.
Here's a simple example:
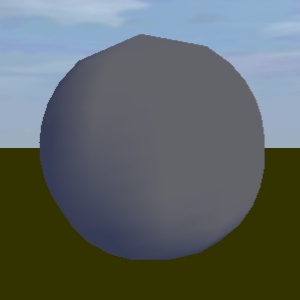
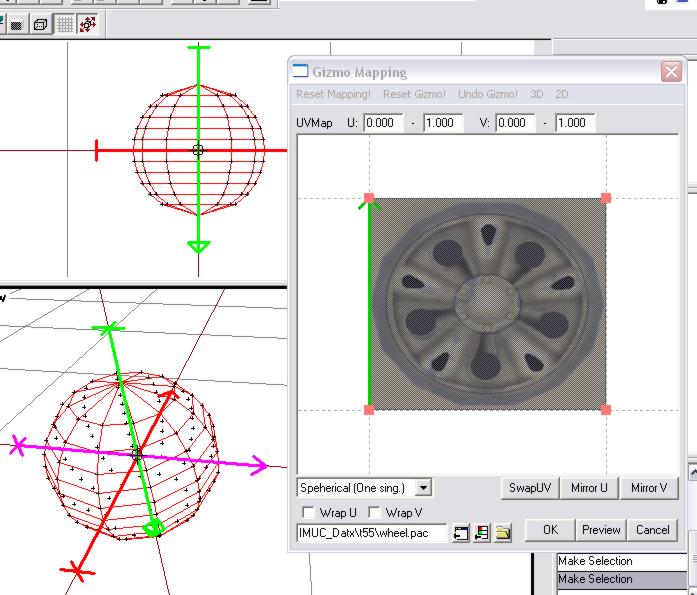
I created this sphere and want a texture (for this test i used a texture of a wheel) to be applied to it by using gizmo mapping.
Select the sphere and click on Gizmo Mapping in the Surface Menu of O².
Select “Speherical (one sing.)” (sic!) and move the arrows to the centre of the sphere (if it isn't already there):
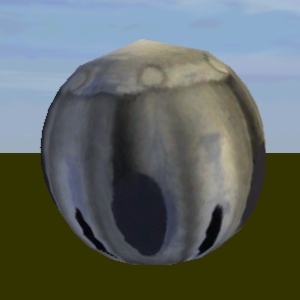
If you click on “Preview” or “OK” you can see the result in Buldozer, the whole texture is wrapped around your sphere.
As you see the centre of the texture will be applied where the bottom of the green arrow is - or in other words, the texture will be wrapped around the sphere according to the direction of the green arrow.
So far so good.
How often do you texture a sphere?
Rarely… right?
The more common application is to texture tank turrets, caps, helmets, heads, etc - in short:
Hemisphere-shaped objects.
The problem is, how do you control the size of the virtual sphere from which the selected area is mapped?
Well… actually you can't.
If you are familiar with Cylindric Gizmo Mapping you know that the size of the arrows influence the size of the virtual pipe from which the area is mapped. But for Spherical Gizmo Mapping the size of the arrows seems to have no influence at all.
However, there's a way around it…
b) … and in particular…
The key to mapping hemispheres is not the size of the arrows of the Gizmo tool. Of course, you can map a hemisphere as if it was a sphere and therewith waste half of the texture. But we can influence the parts of the texture which is used to map the selected area.
Let's come back to the example of the cap from the beginning of the tutorial:
We start by selecting the area to be mapped:
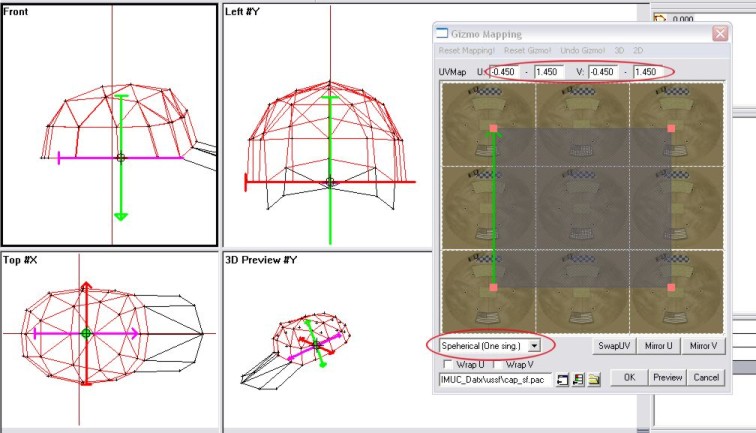
Then we open the Gizmo tool, select Spherical Gizmo Mapping and the texture.
Finally we flip the arrows around so that the green arrow points downward because we want the centre of the texture, to be mapped from the top of the cap.
If we now would move the Gizmo arrows to the centre of the sphere, which would be the middle of the lower edge of the cap, the whole texture would be wrapped around the cap and as said above only the part in the middle would appear on the cap.
The only way to influence the size is the used parts of the texture:
In the Gizmo window hold down 'Ctrl' and shift the edges of the used texture part so it covers a bigger area.
The area should be symmetrical for our example otherwise the centre of the texture will not be in the centre of the selected area of the model.
Use the four UVmap fields above the Gizmo texture window to adjust the covered texture area.
Experiment with the sizes, however you'll see that dimensions ±0.450 to ±0.550 will fit best. In the end it depends on your model.
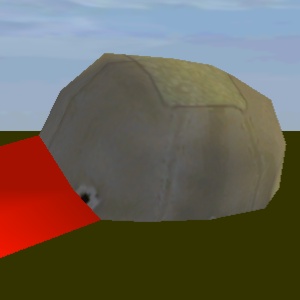
Our example cap now looks like this: as it should be!

